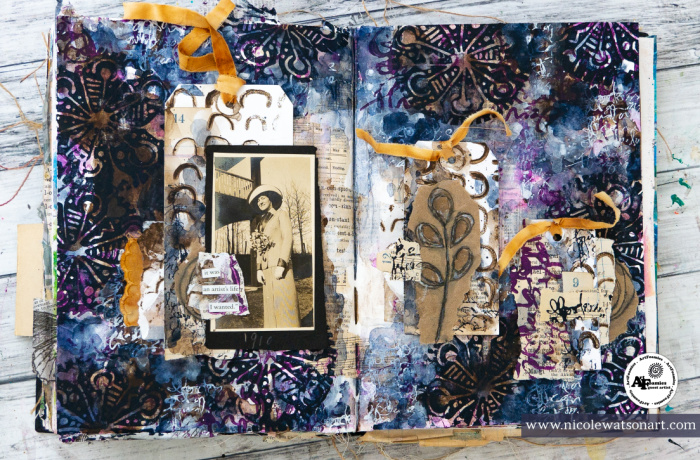
Double Spread Journal Page with ArtFoamies by Nicole Watson
HELLO ARTISTS! I’m back with another guest artist post using FOUR different ArtFoamies! I just love how amazingly well they layer together…but we’ll get to that in just a minute.
Have you been following along or participating in this year’s Index Card a Day (ICAD) challenge? I’ve used ArtFoamies several times on mine and recently created one using ArtFoamies that I knew I wanted to explore again in a larger format. This little card was an experiment, or an accident really, as I was very much losing my creativity!
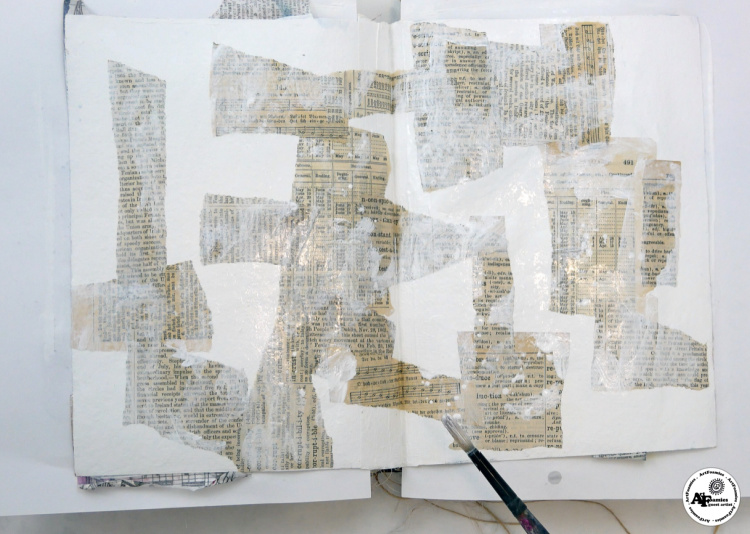
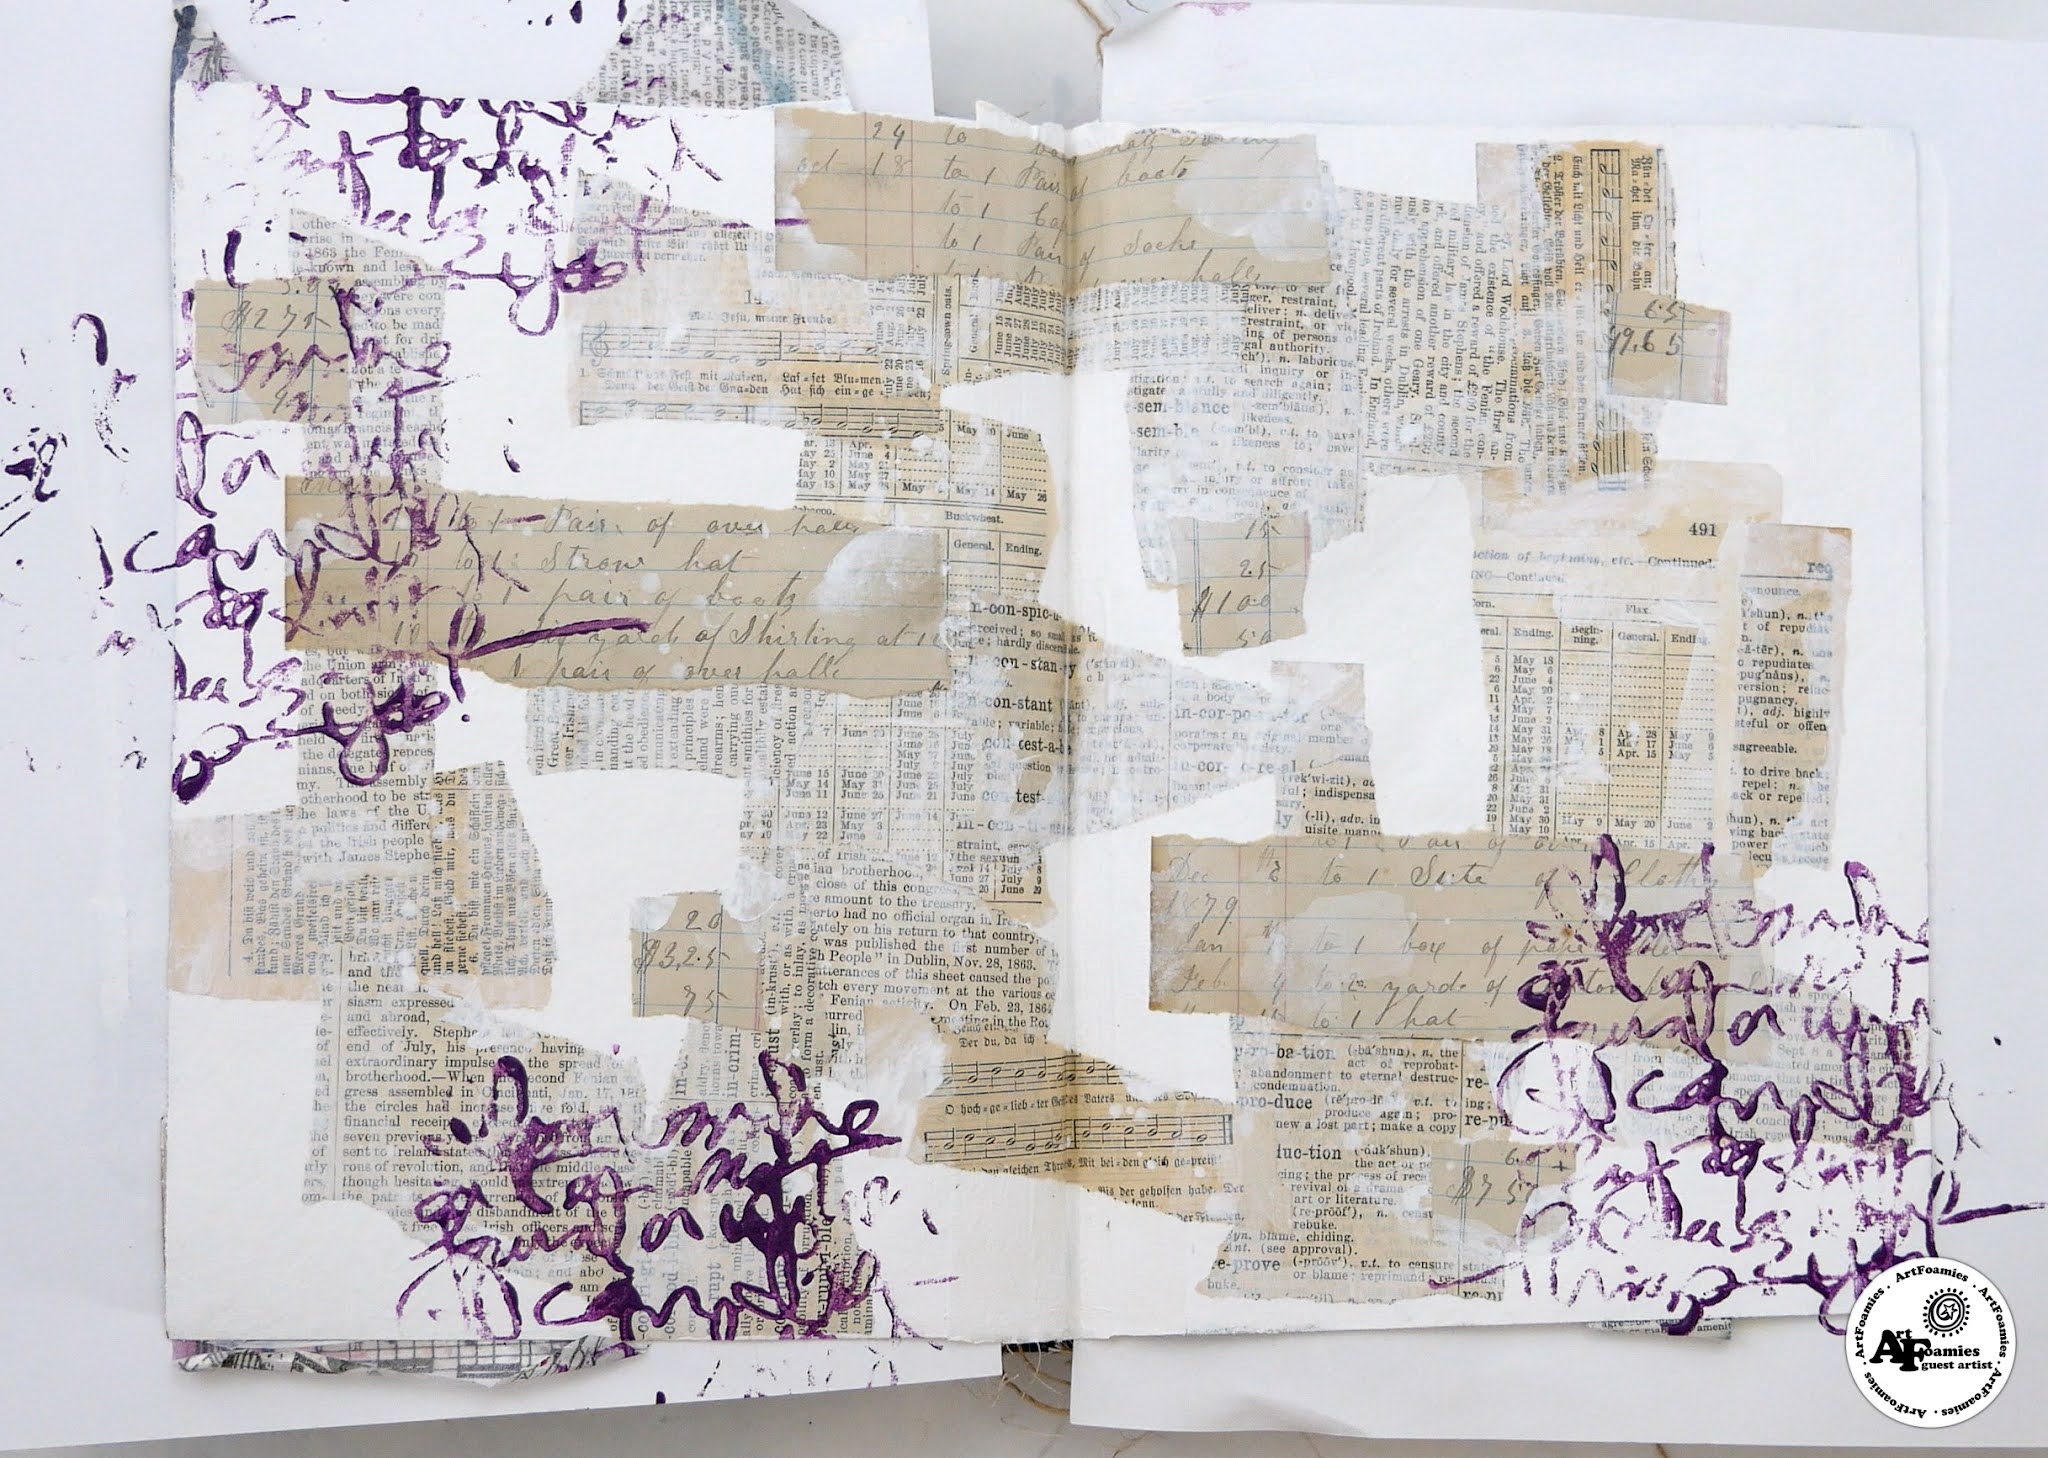
As I was thinking about what to create for my tutorial, I remembered that ICAD. I knew this was the perfect time to explore (or attempt to recreate!) my accidental card. So, I opened my Dina Wakley Media journal, covered an entire two-page spread with gesso and began.
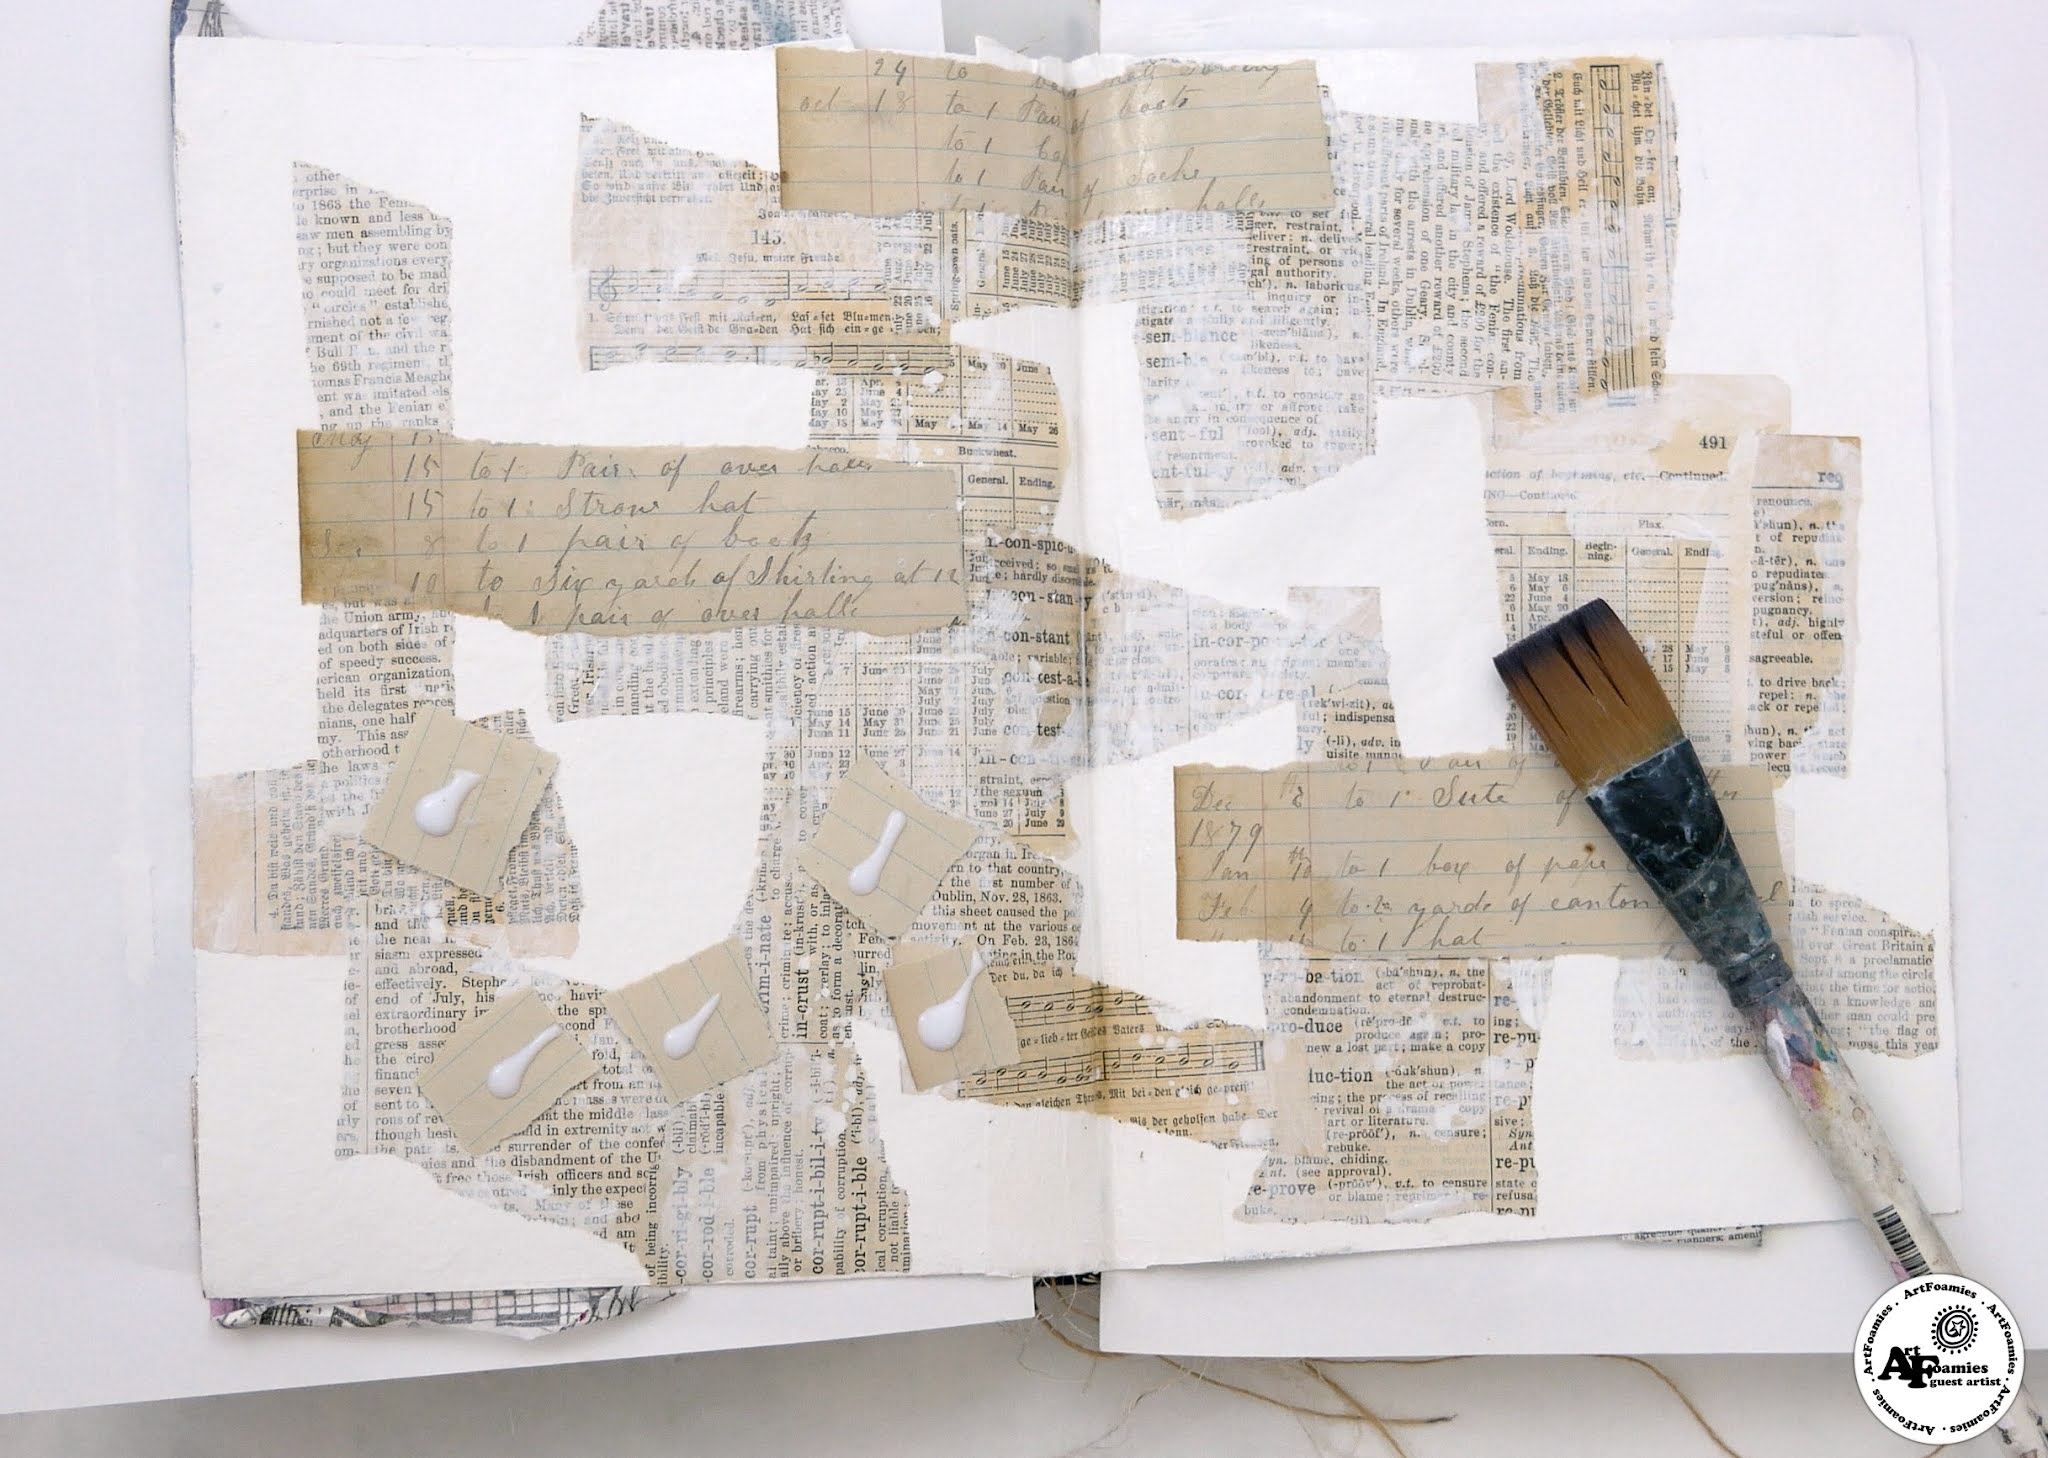
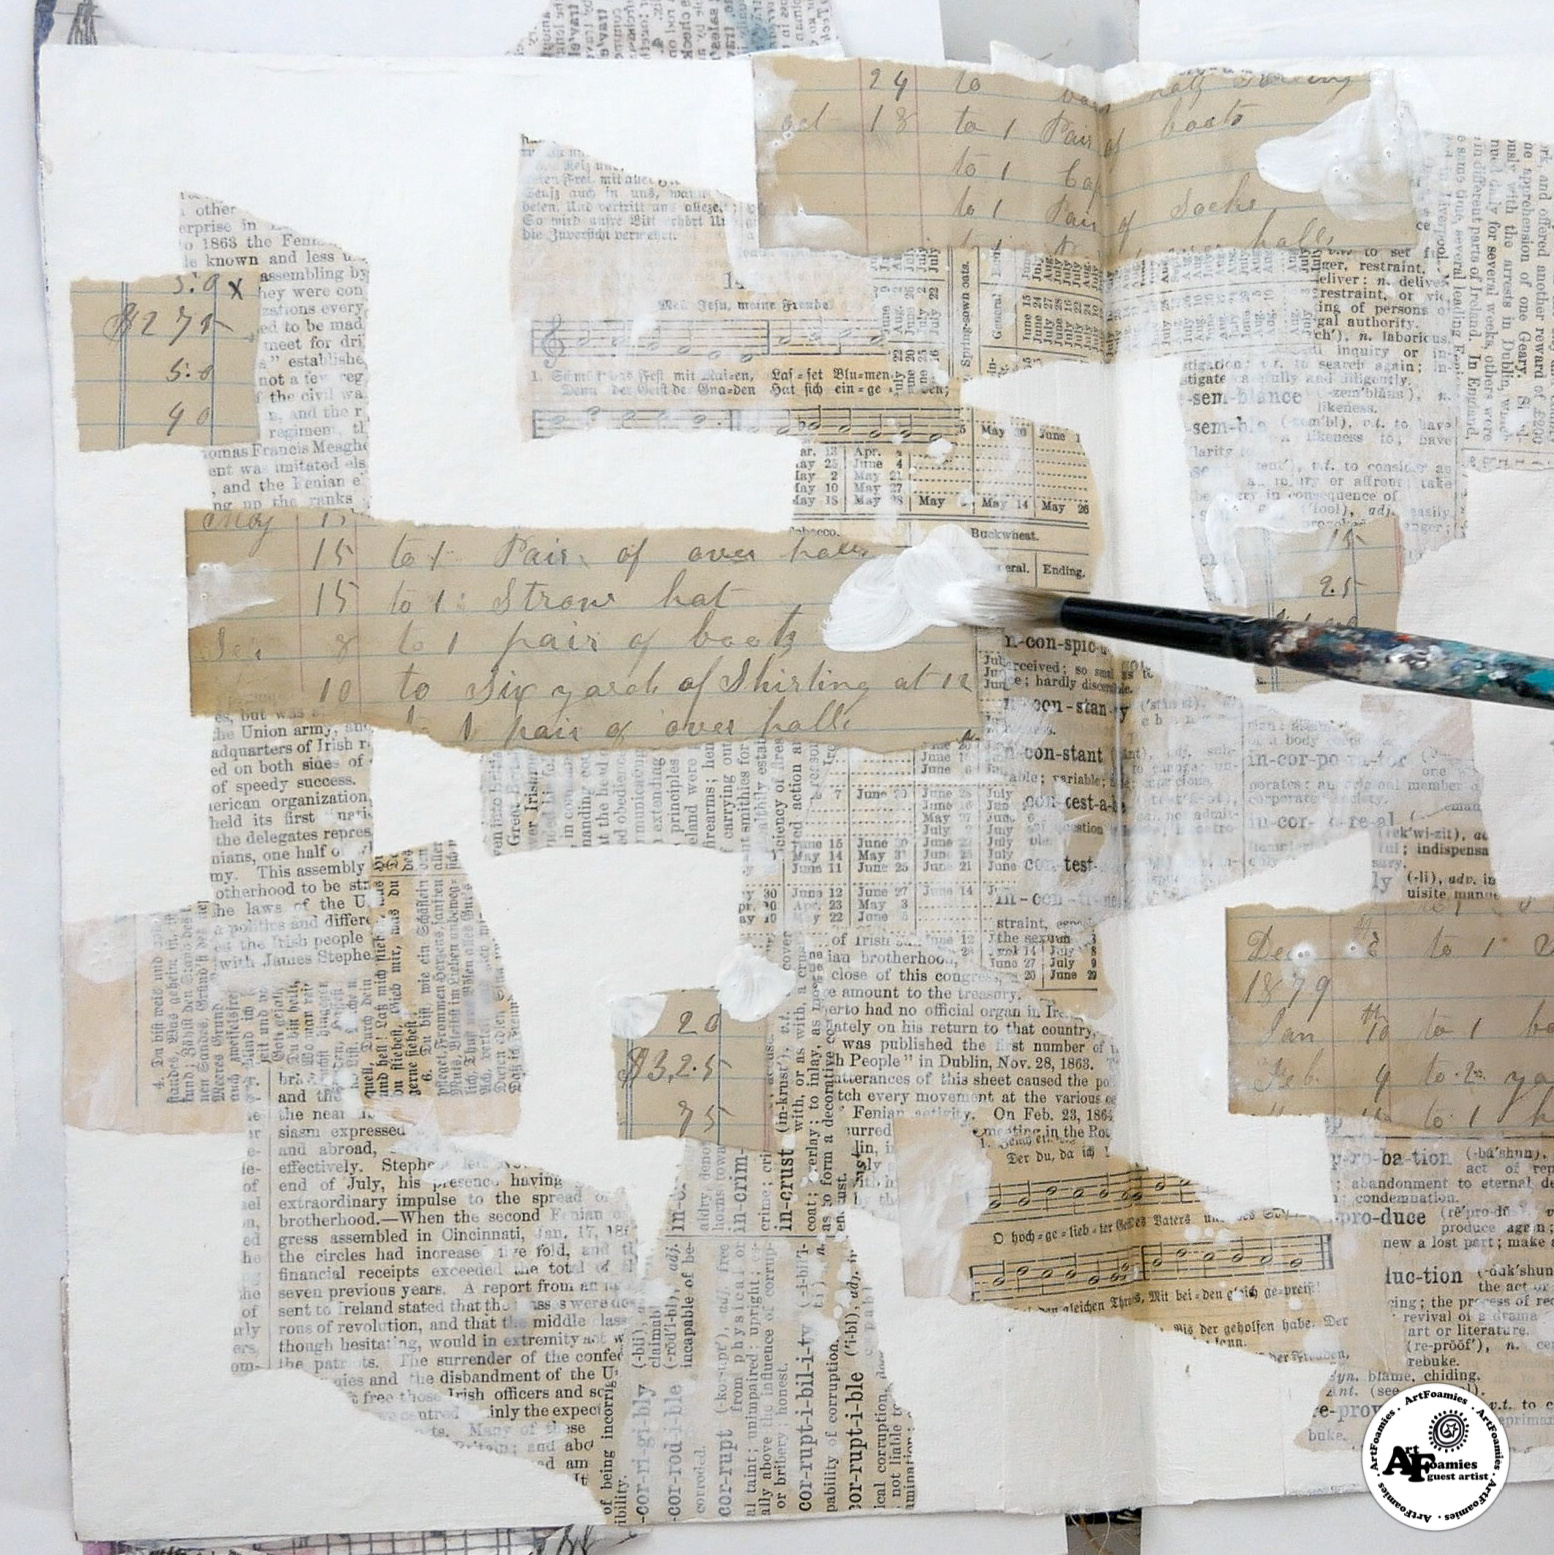
First, I stuck down a bunch of book text and dictionary pages with matte medium. Once dry, I embedded these pages a bit with gesso. This gesso layer adds so much interest, it’s amazing! Once that gesso was dry, I realized I didn’t use any of my favorite handwritten ledger pages. So, I grabbed one of those and added a few pieces, again topping with some gesso. One thing that draws me to mixed media is the combination of mediums, layers and “what ifs” that fill the page or canvas. The gesso often helps to create those happy accidents.
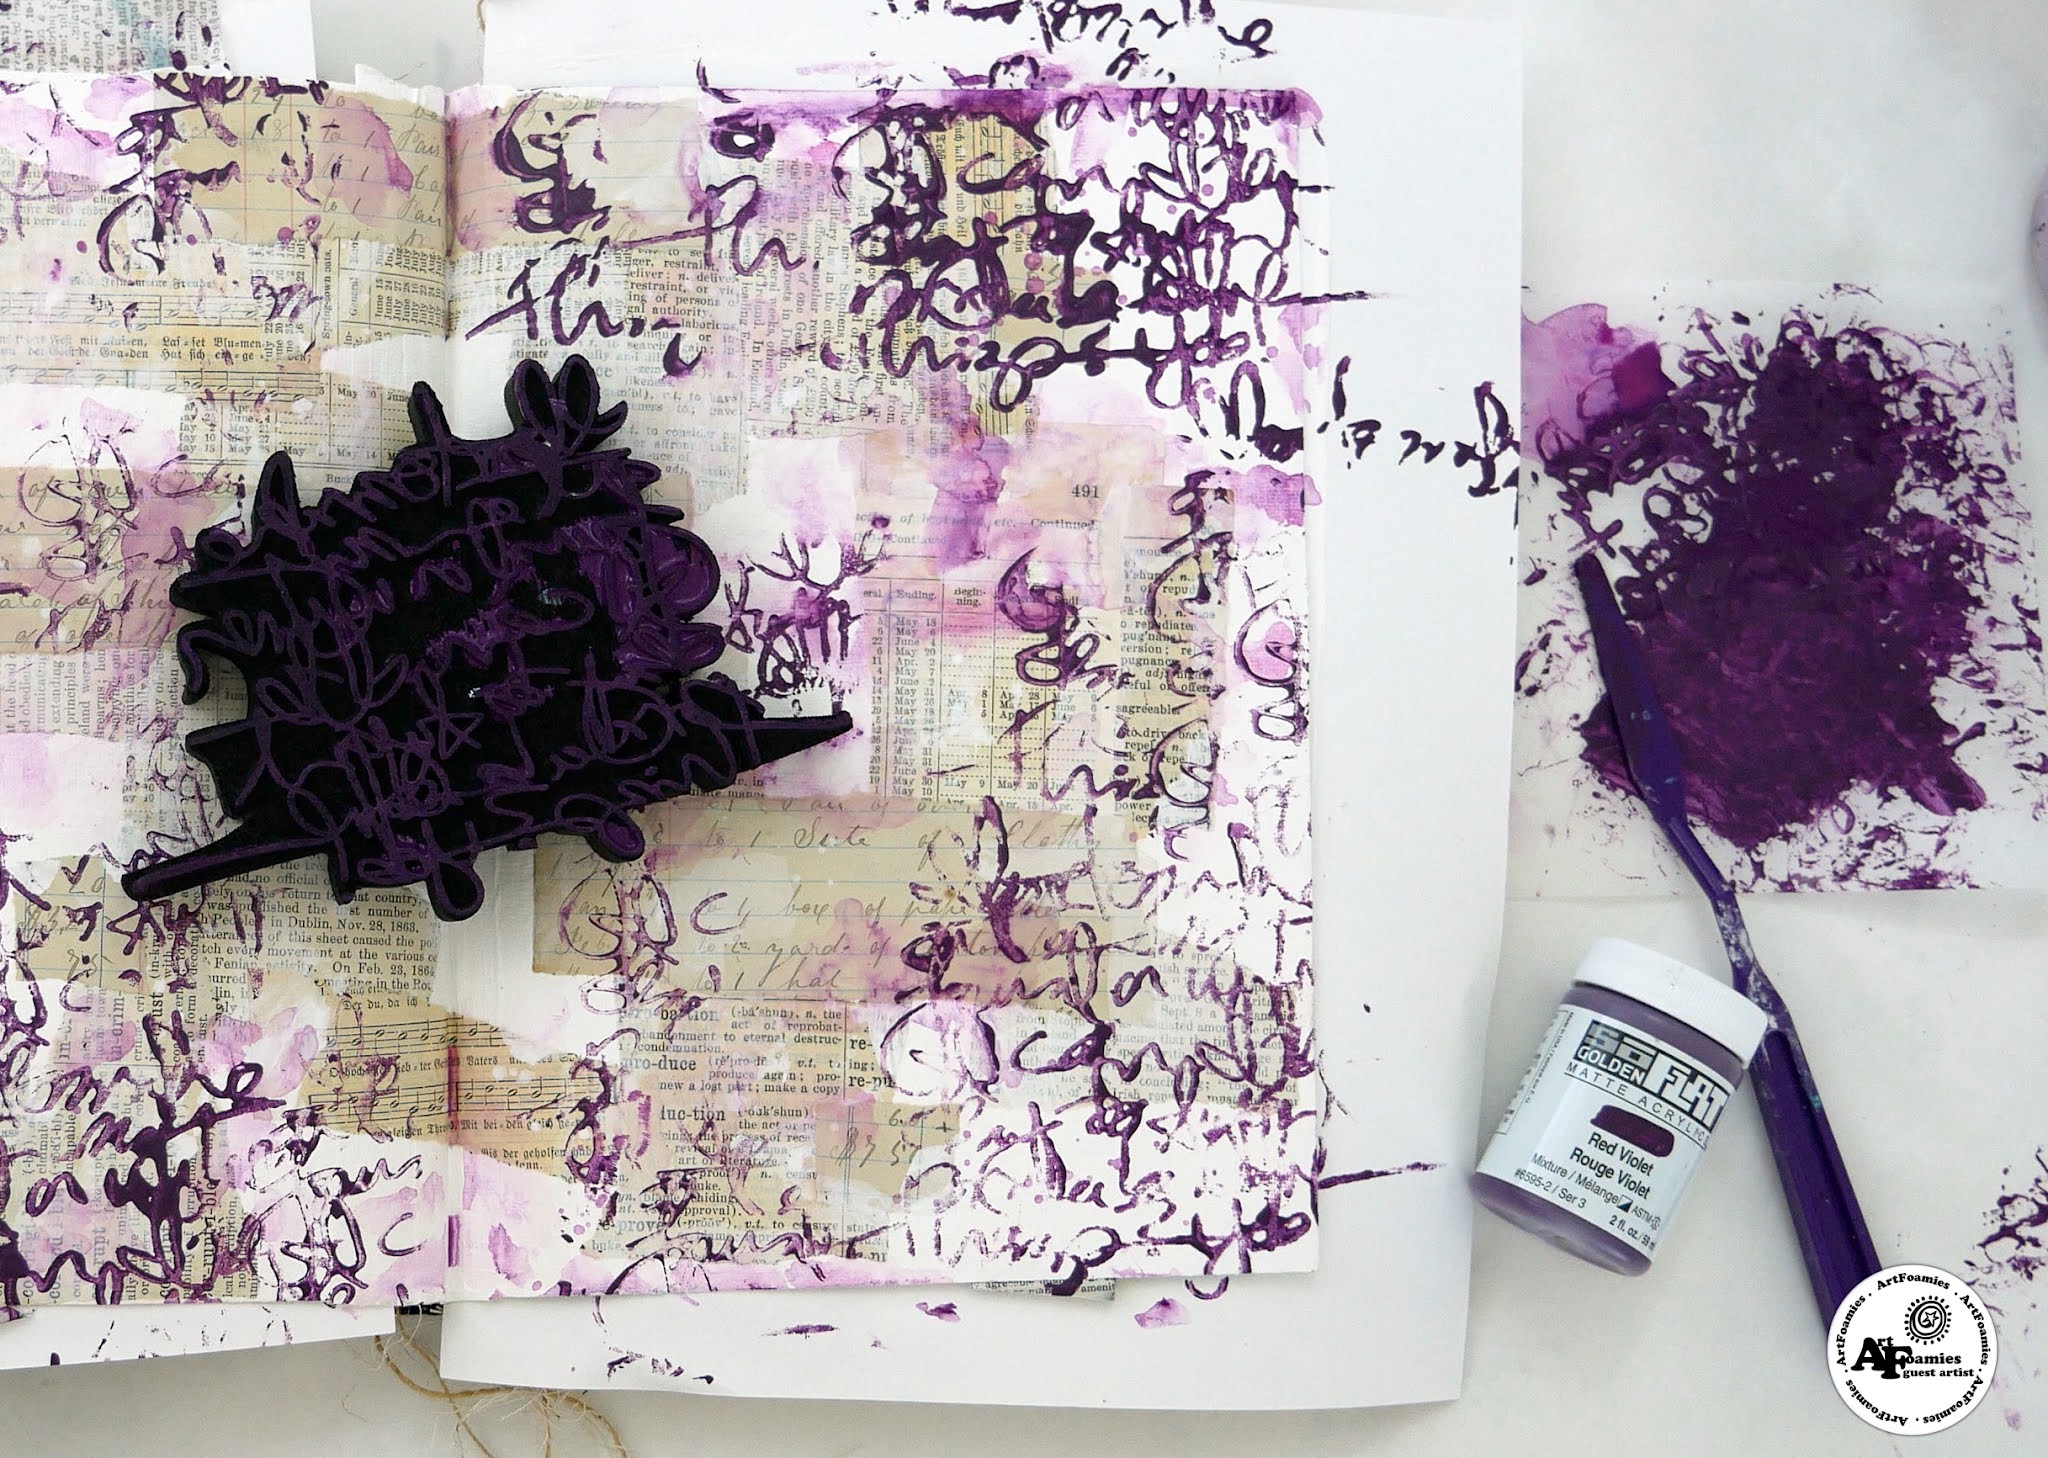
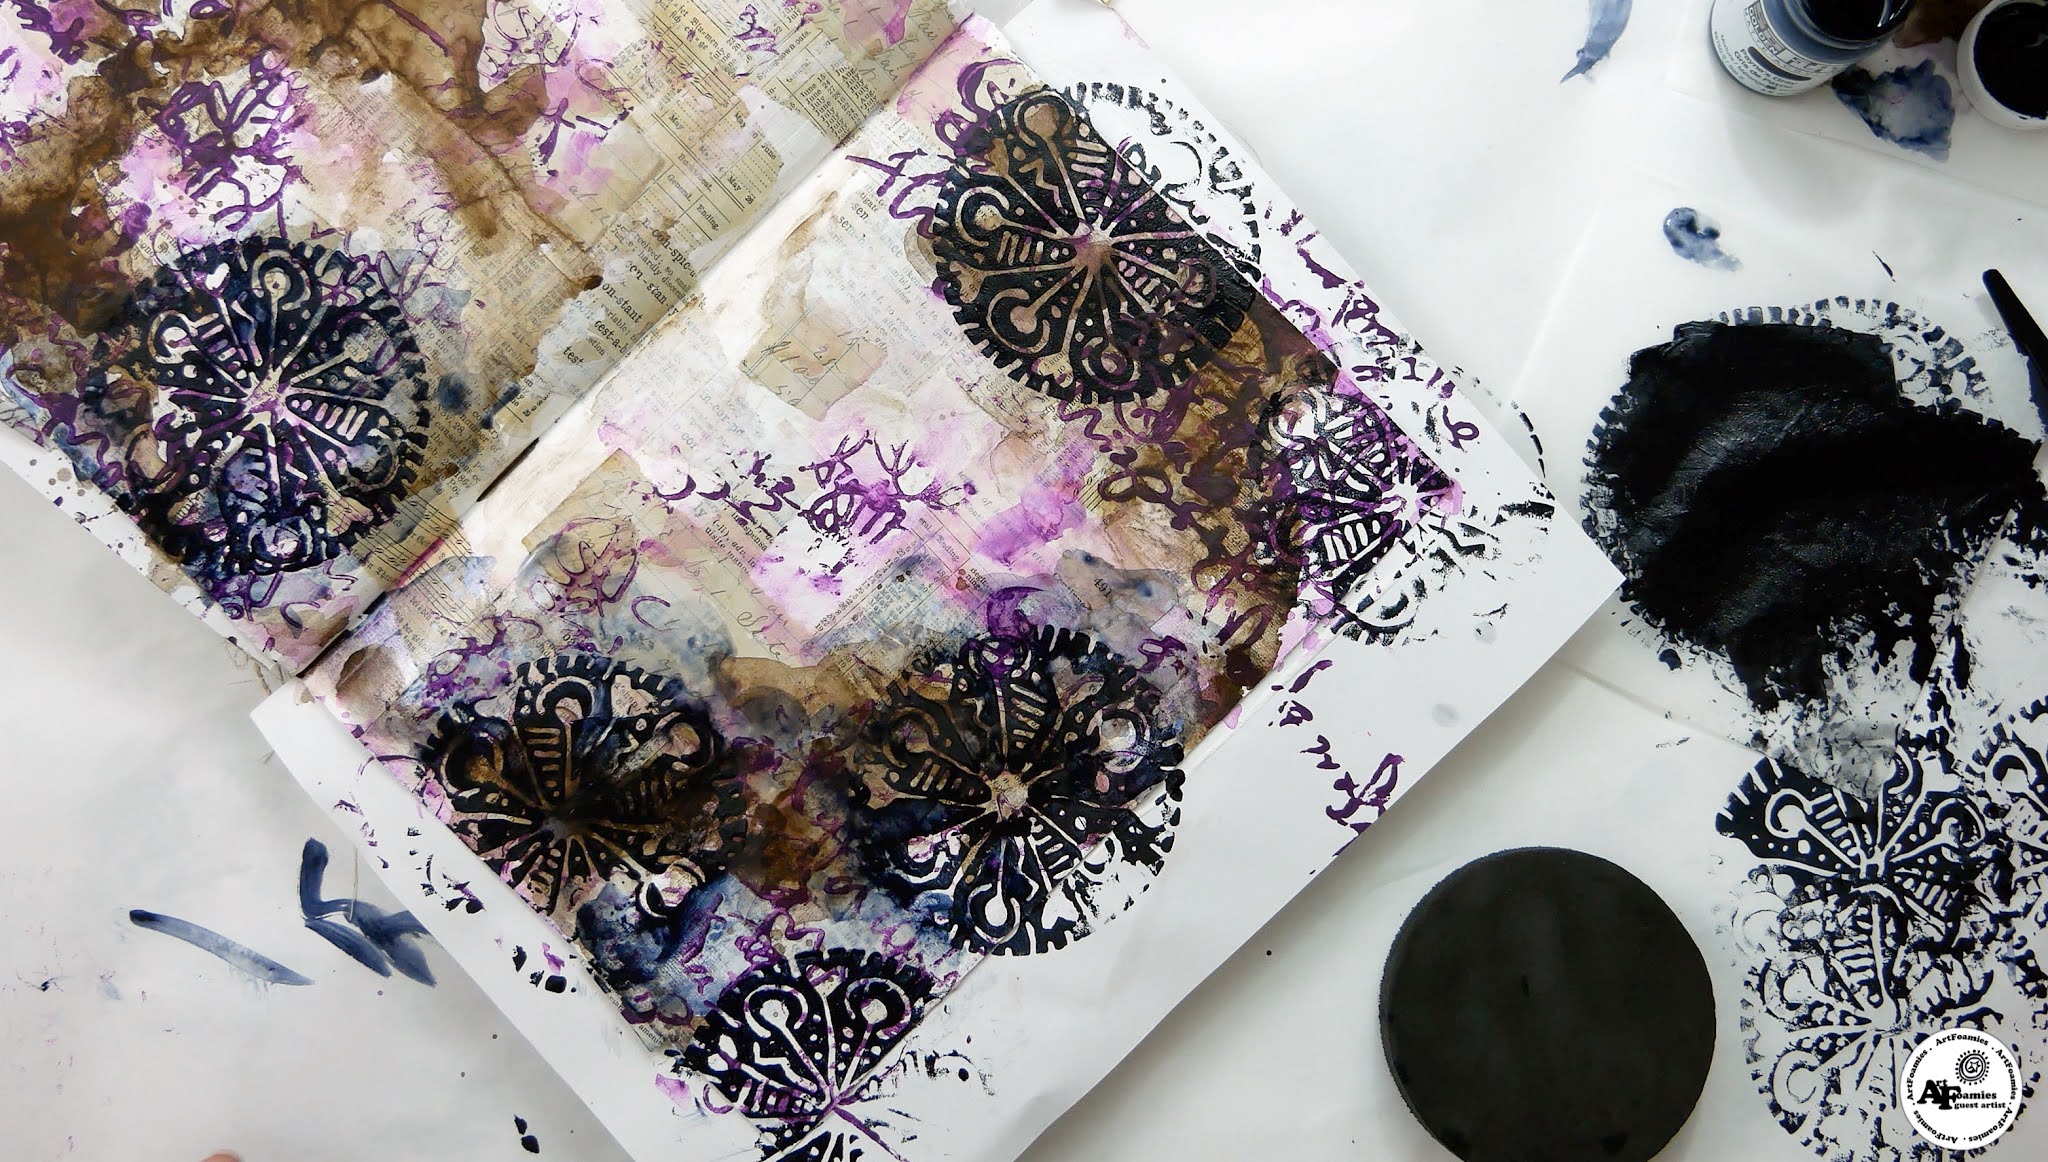
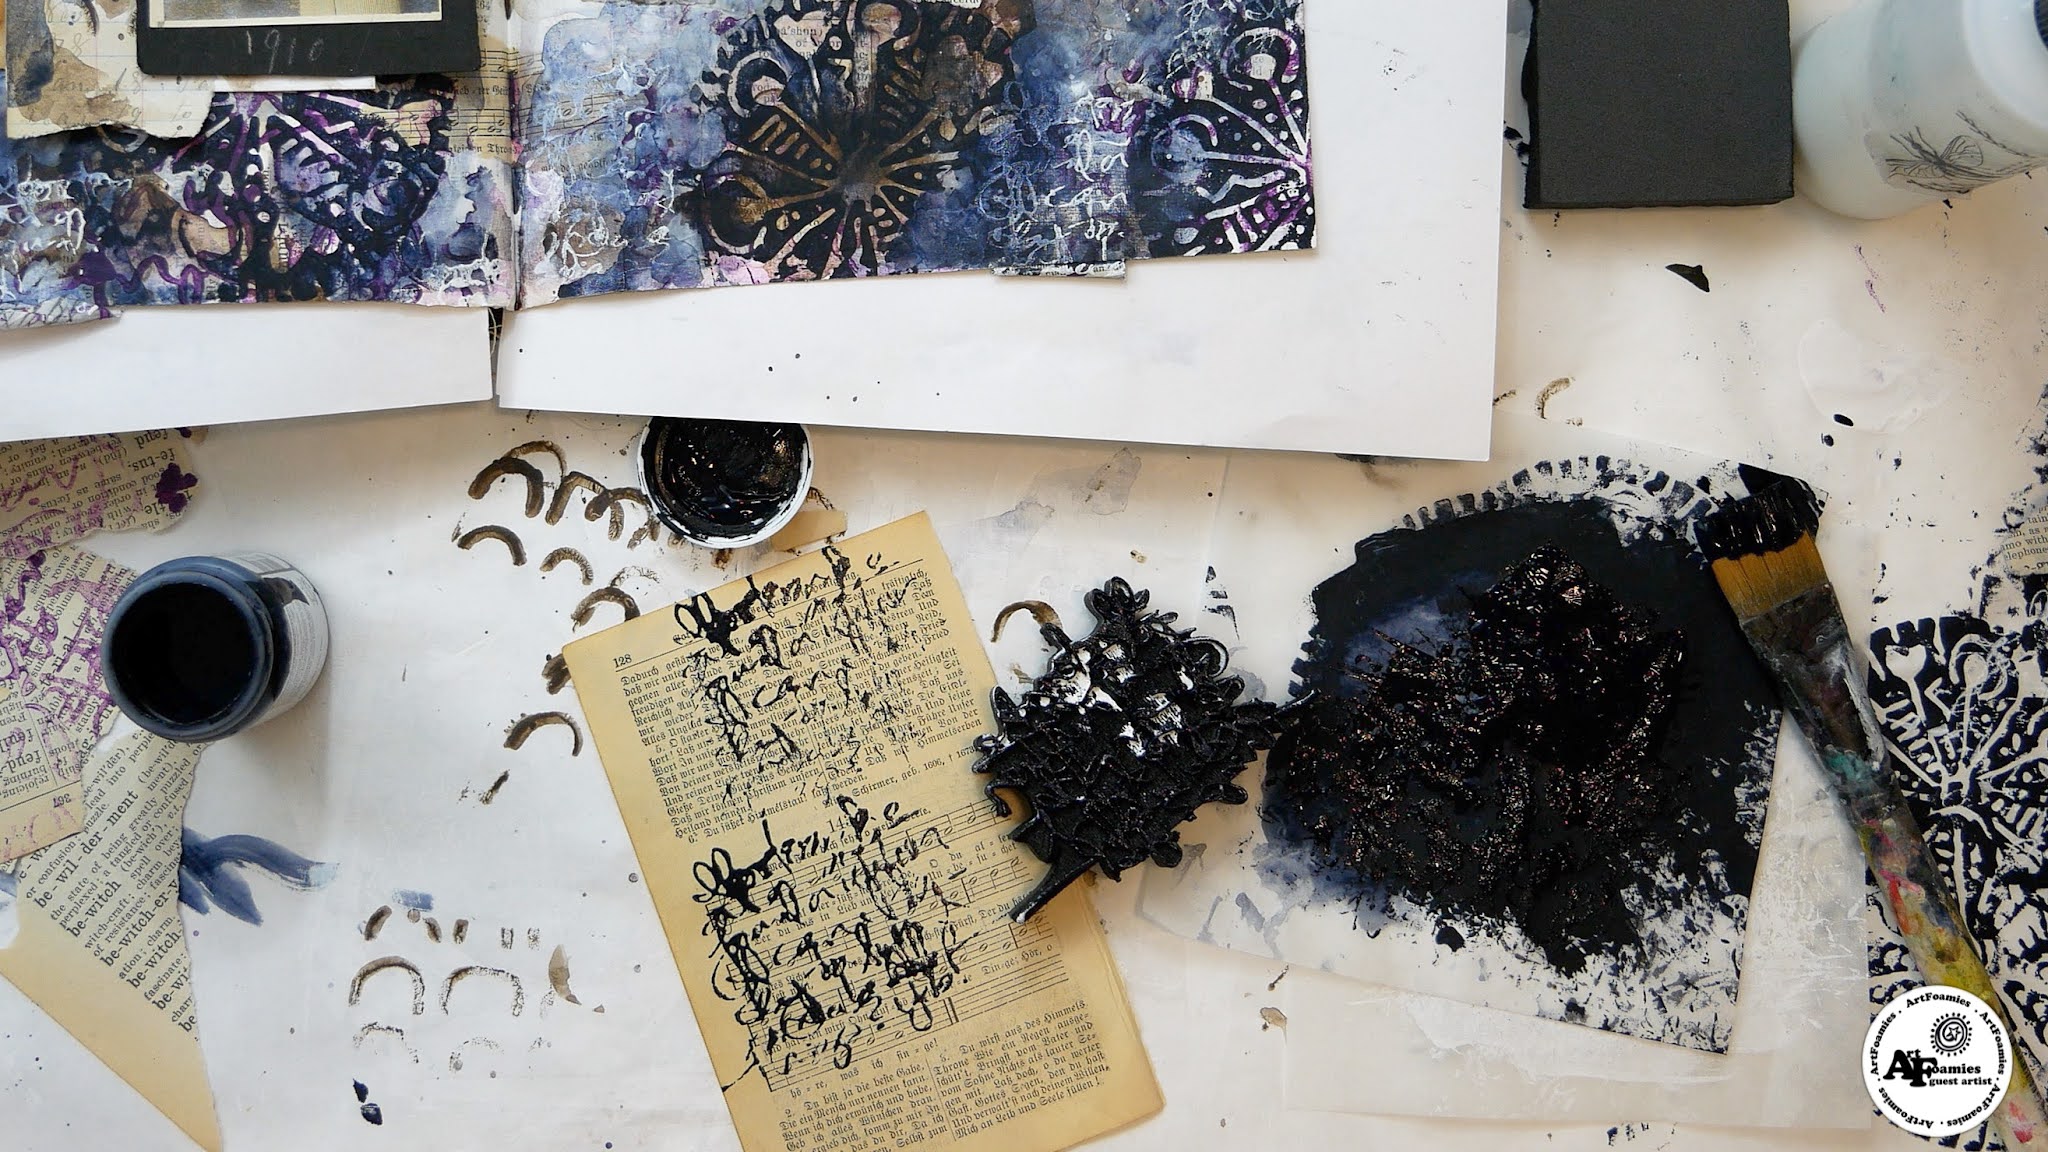
Next, it was time to start the ArtFoamies layering! I grabbed the large Writer’s Block stamp and stamped it mainly around the edge of the journal pages using Golden’s new So Flat paint in Red Violet. I used a palette knife to spread paint across the Foamie and also used a piece of patty paper as a temporary ink pad. Using both methods will give you different stamp results with thicker, thinner, lighter or darker strokes, which will all add interest to your background. Don’t worry too much about how this layer looks. If you don’t have even stamping or perfect lines, there will be many more layers on top. While there was still wet paint on my patty paper, I sprayed it with a little water to make it thinner and spread it loosely a few places between the stamps, again to add interest.
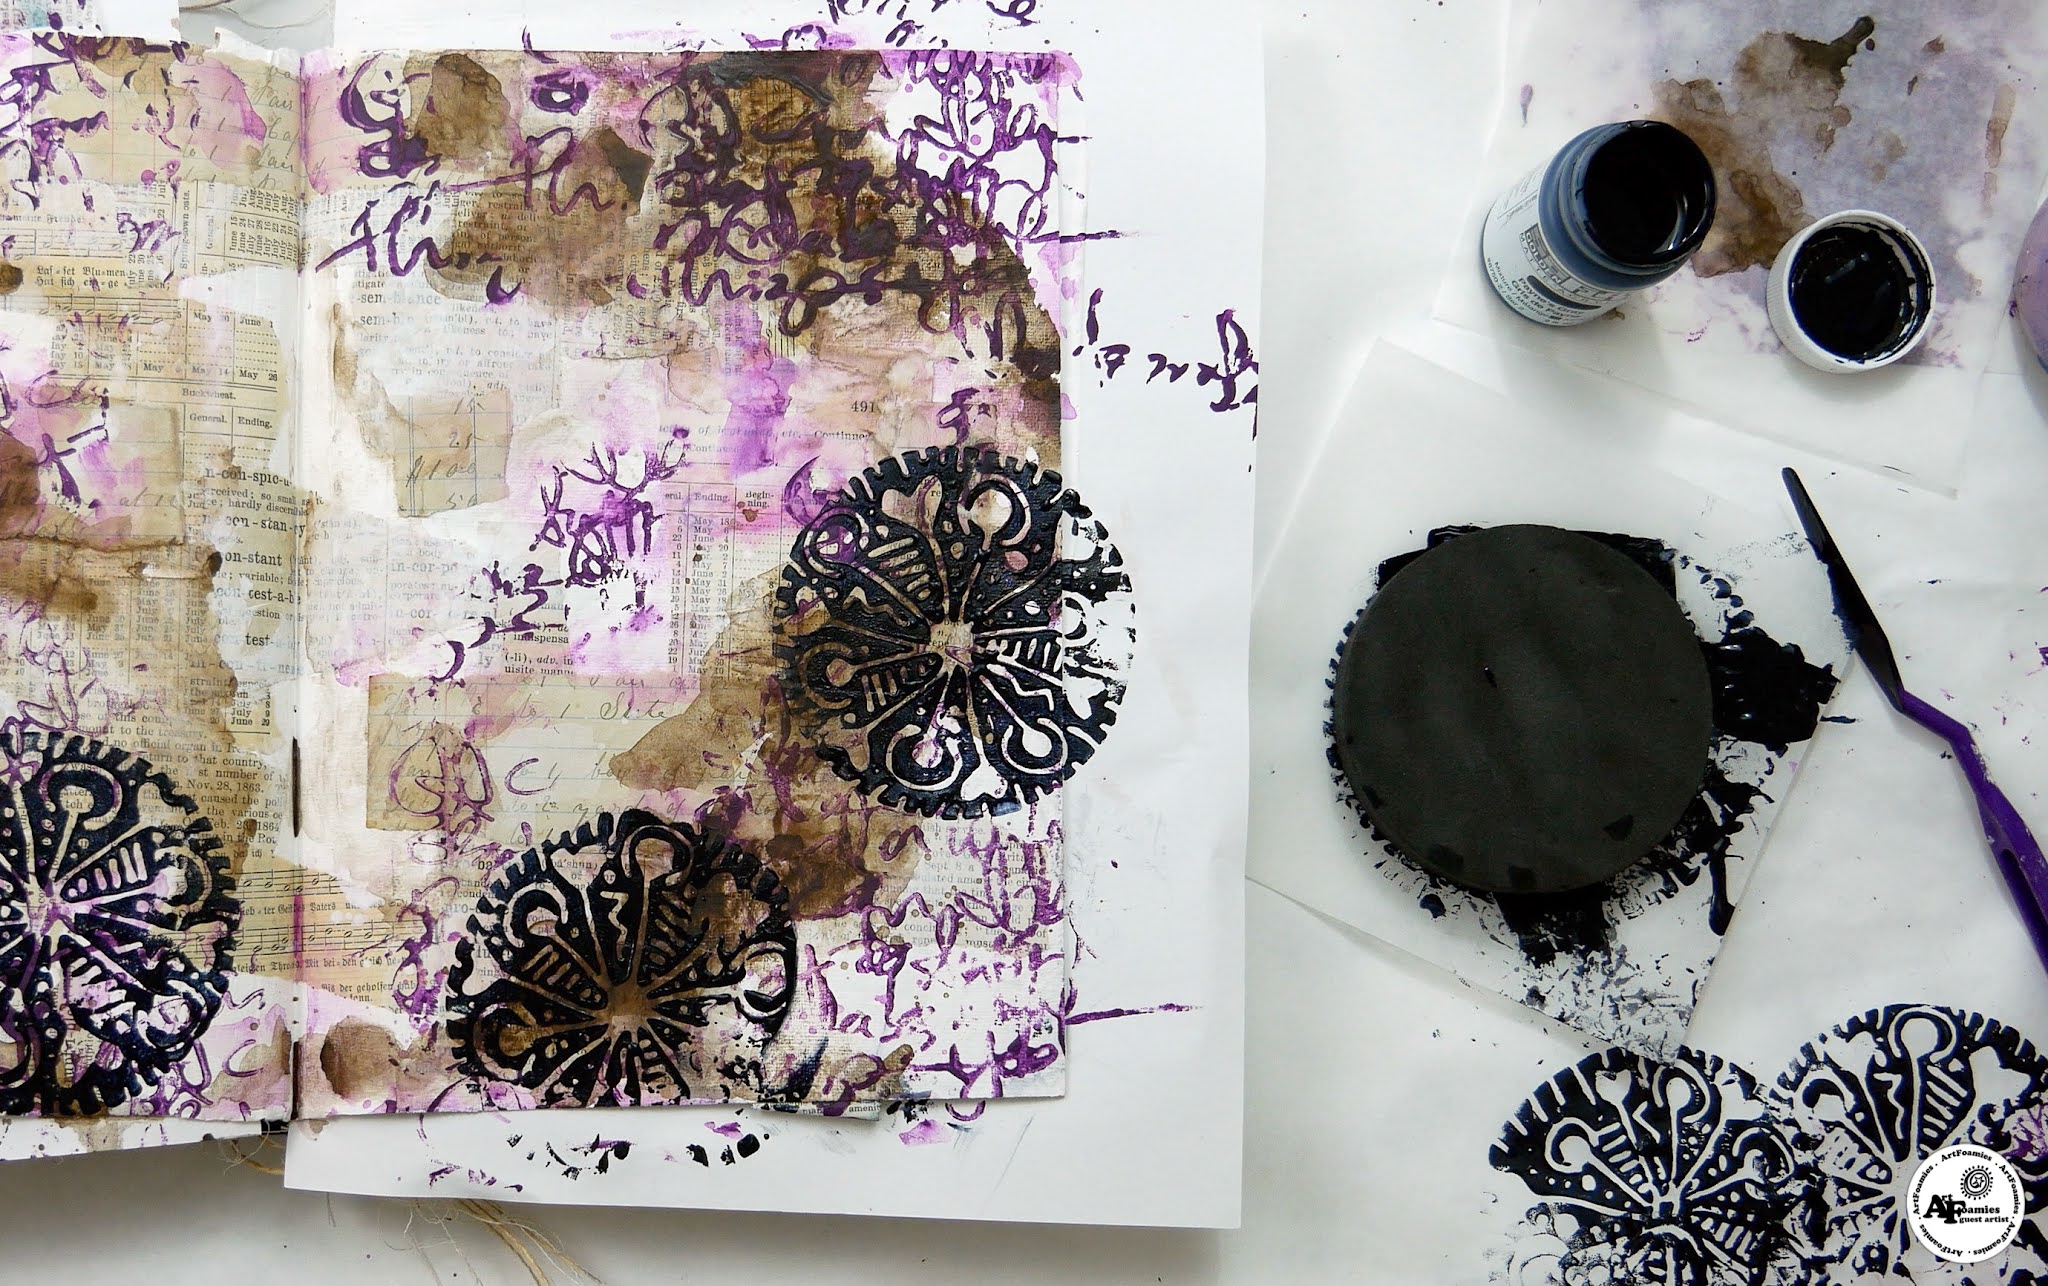
To add another layer of interest, I grabbed Bombay India Ink in Sepia and spread it on the page over the Writer’s Block stamp. I left some of the stamped images without the ink on top, and also put some over the white page as well. It looks kind of like a river of India ink. This is where intuition kind of kicks in. In some areas I kept it darker and in others lighter, watered down a bit. I let it dry, and then added a bit more ink where I wanted some darker contrast. Again, this is another background layer to build interest, so it doesn’t have to be perfect!
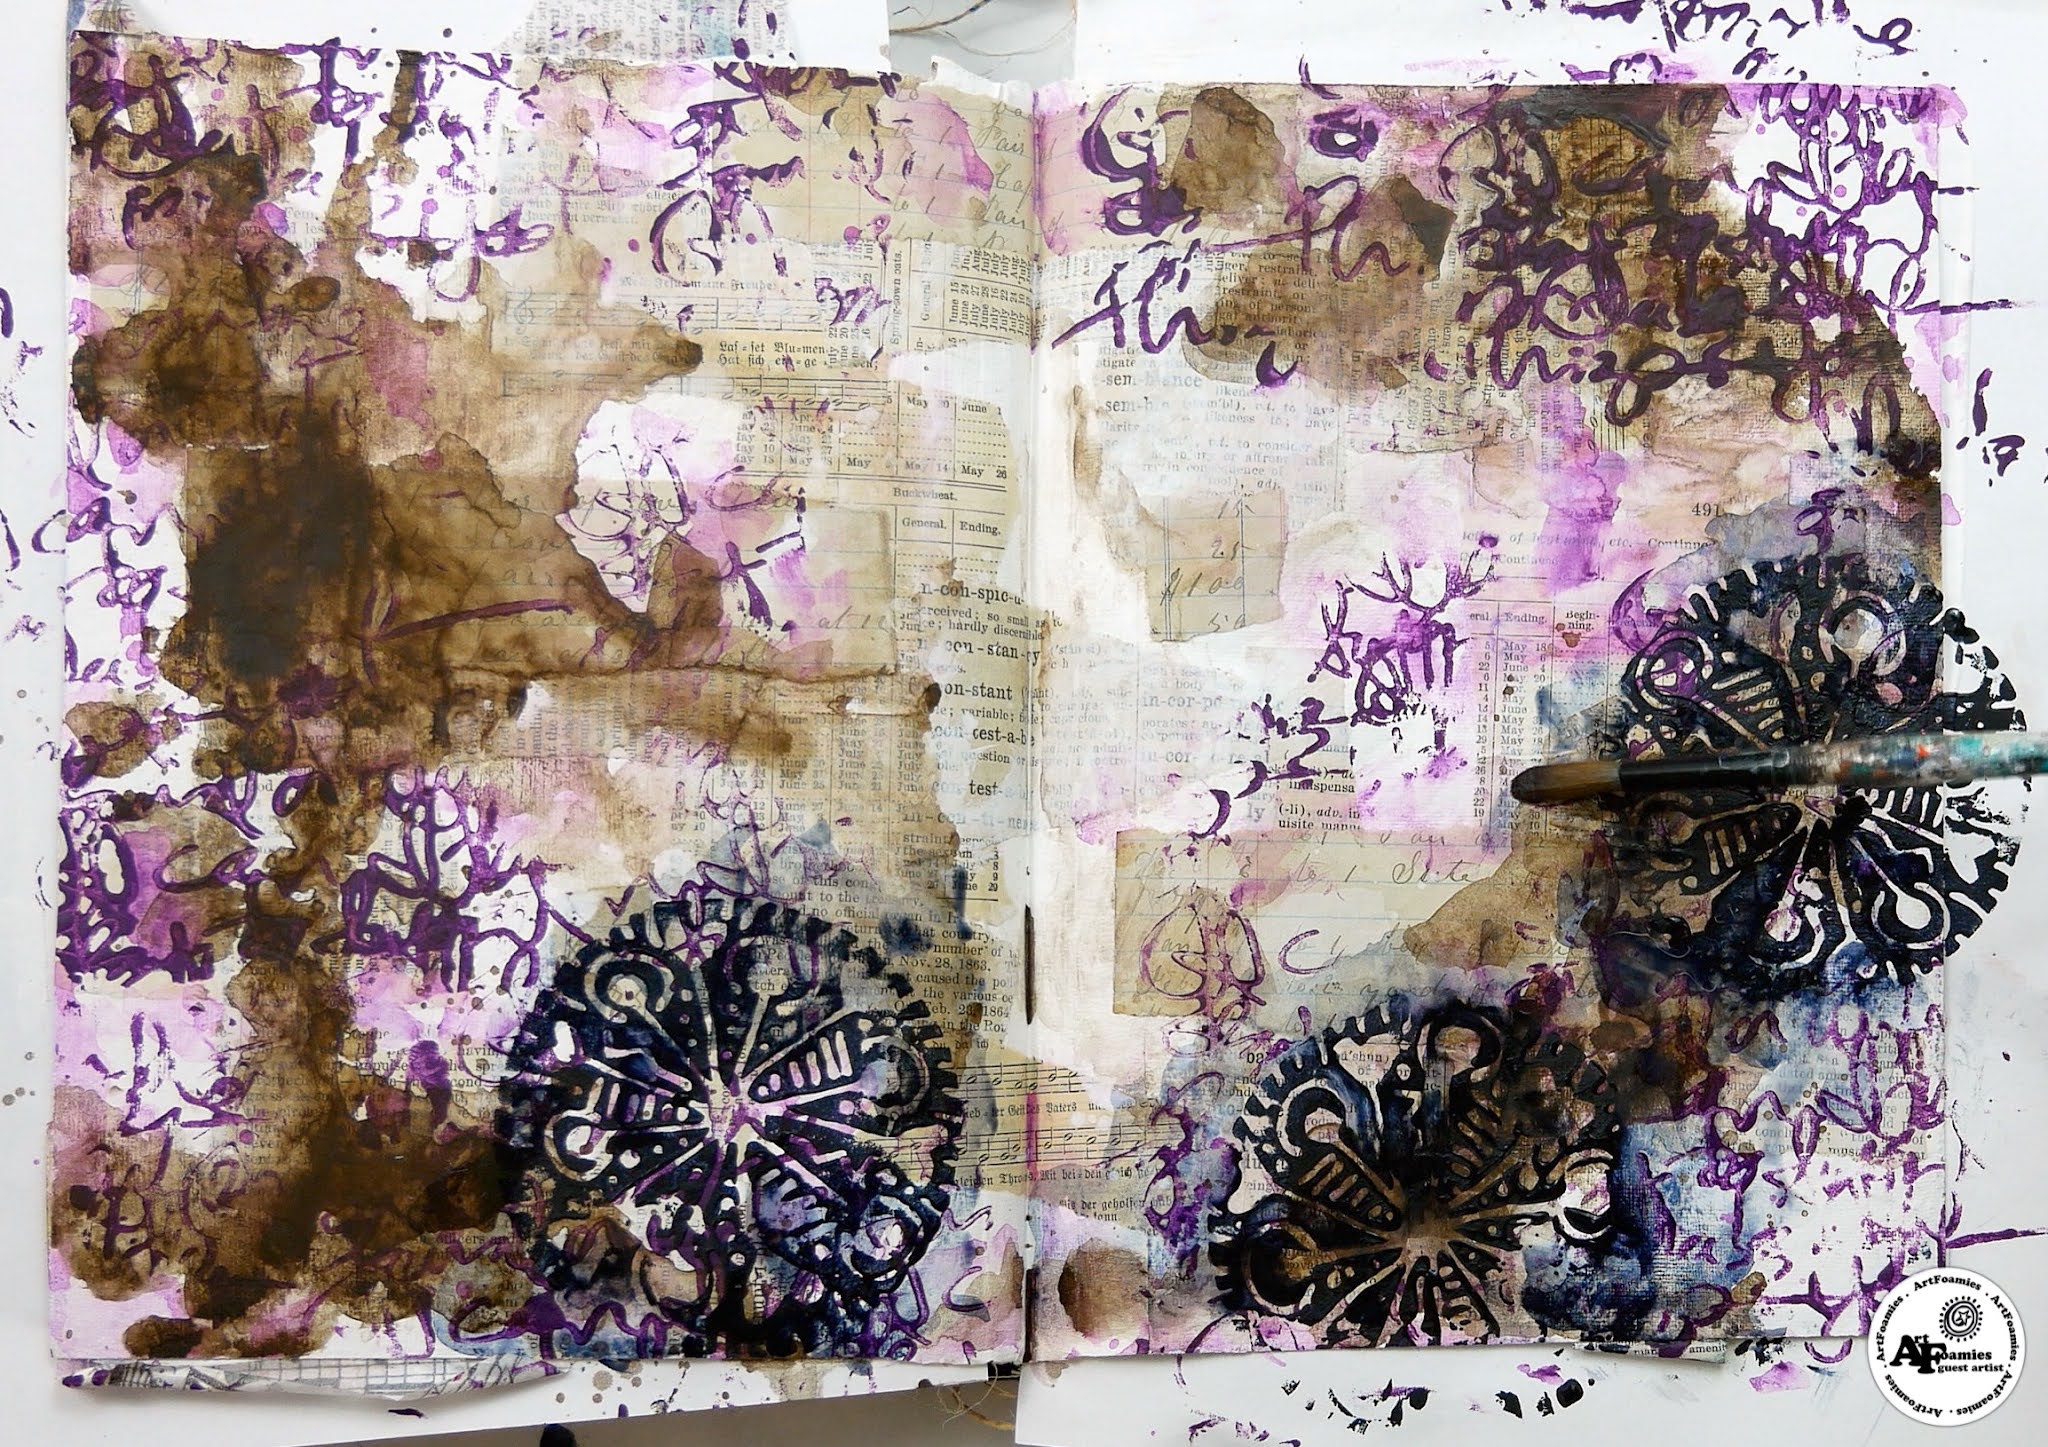
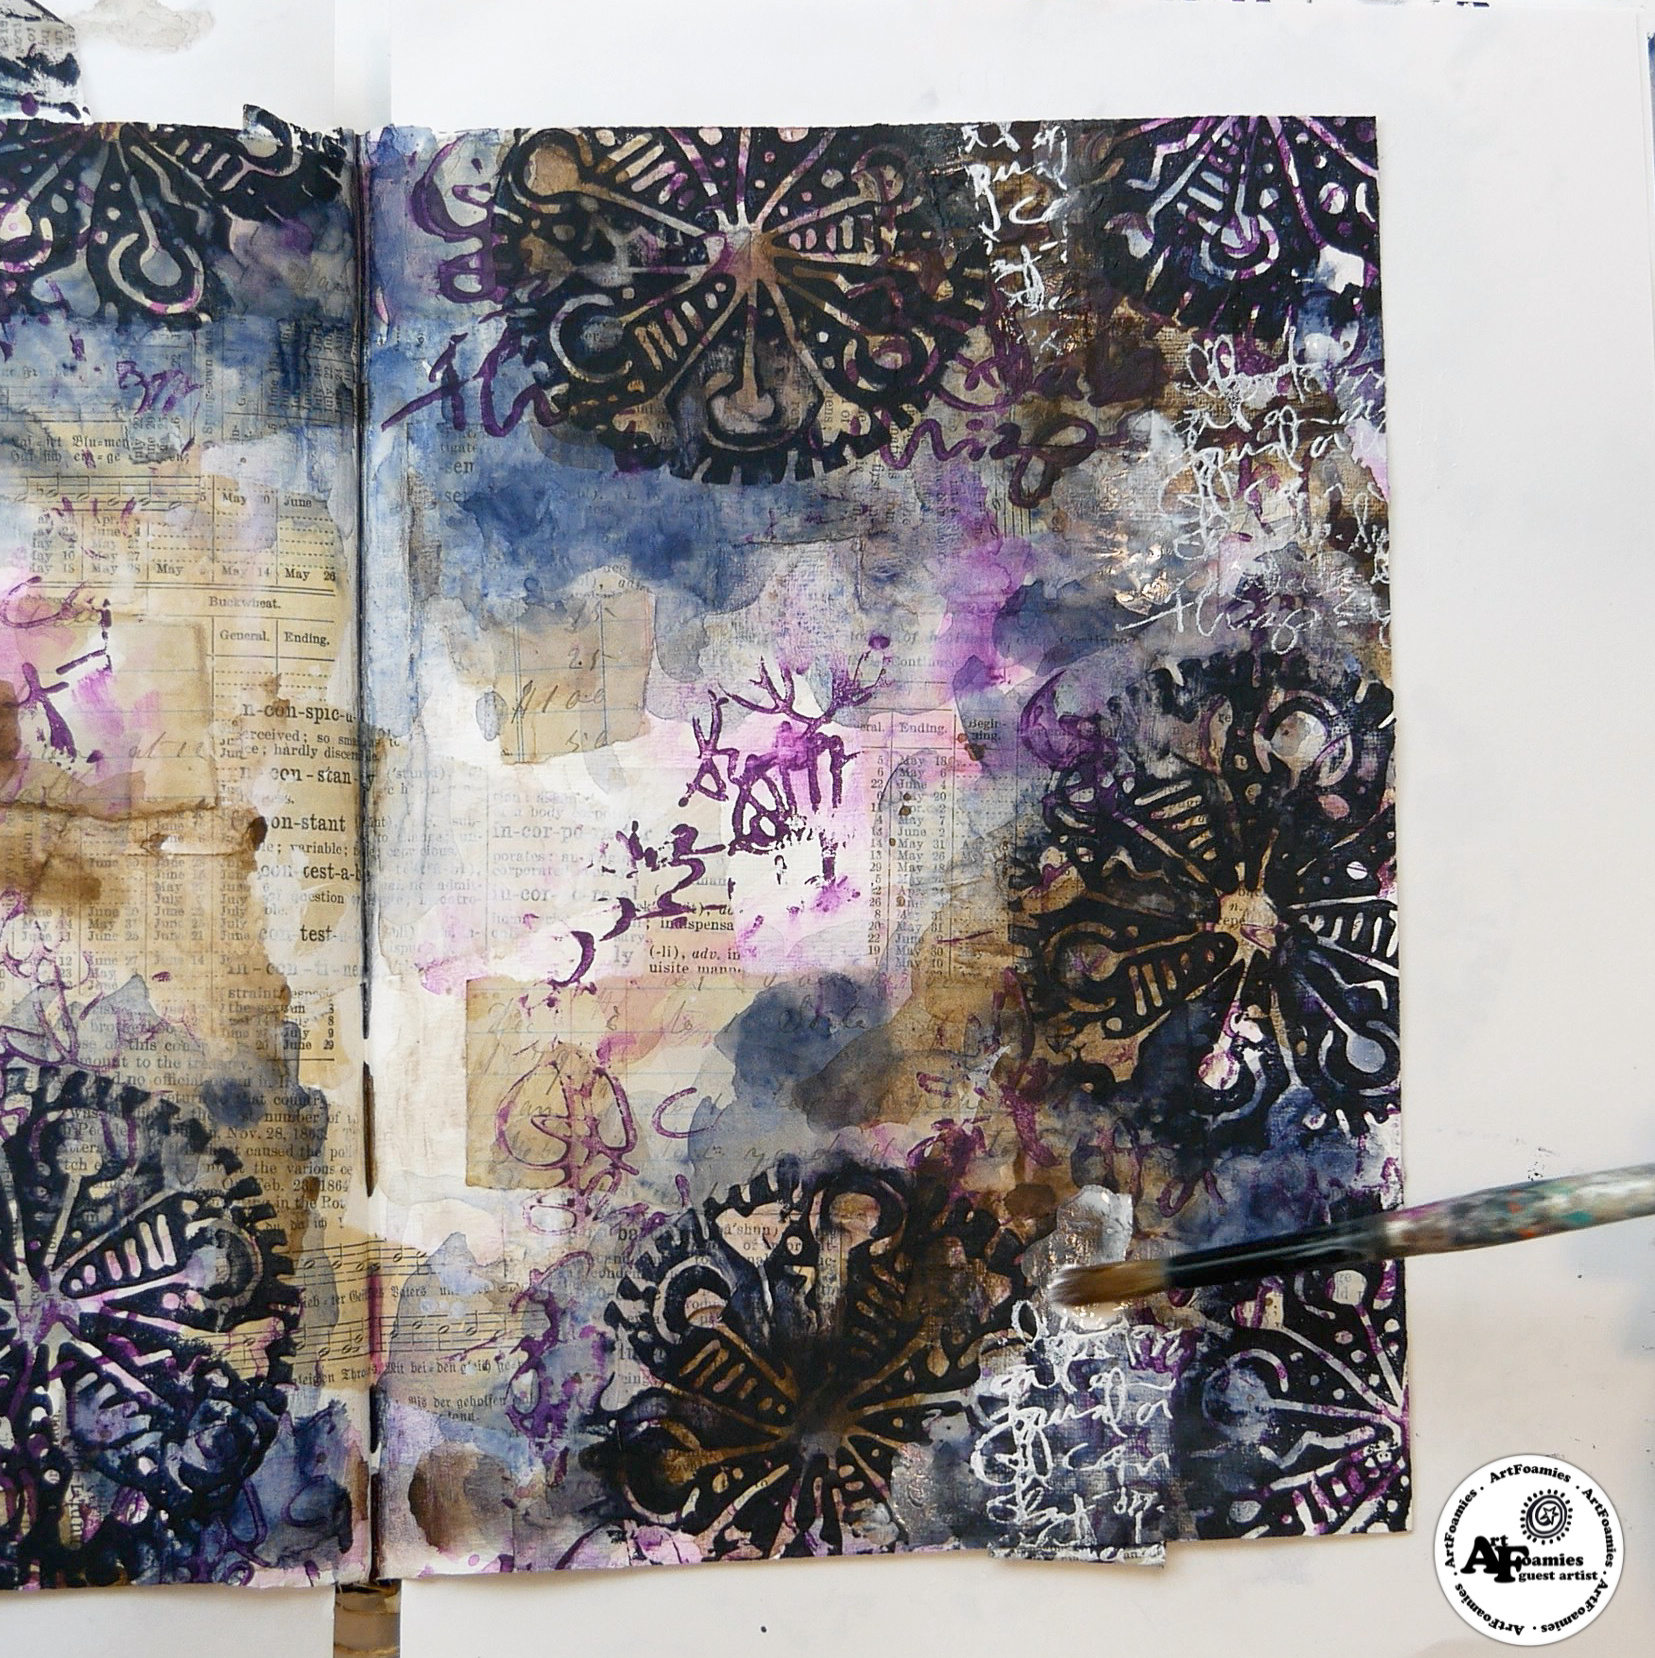
Then it was time for the next ArtFoamies layer! I picked up the Candy Love stamp, and using the same technique with the patty paper/palette knife, I stamped it several places on my pages with Golden So Flat Payne’s Gray. To create the watery/cloudy effect around the stamps, I used my paintbrush in some water while the stamped image was still wet to blur the edges and picked up some paint as needed from my palette. For this process I worked in stages, stamping a few at a time and softening them. As the stamped images dried, I continued to soften them in places, removing paint so they looked a little aged or more like watercolor. (This process might be a little easier to understand when you watch the video!)
At this point, my pages were starting to look a little dark, so I wanted to add some white back into the edges. I grabbed the smaller version of the Writer’s Block stamp and used it with gesso to bring back some white space. I also softened the edges of this stamping a bit with watered down gesso. Then, so the gesso didn’t look like it was all floating on top, I used a bit of watered-down Payne’s Gray over some of the stamped images to push parts back.
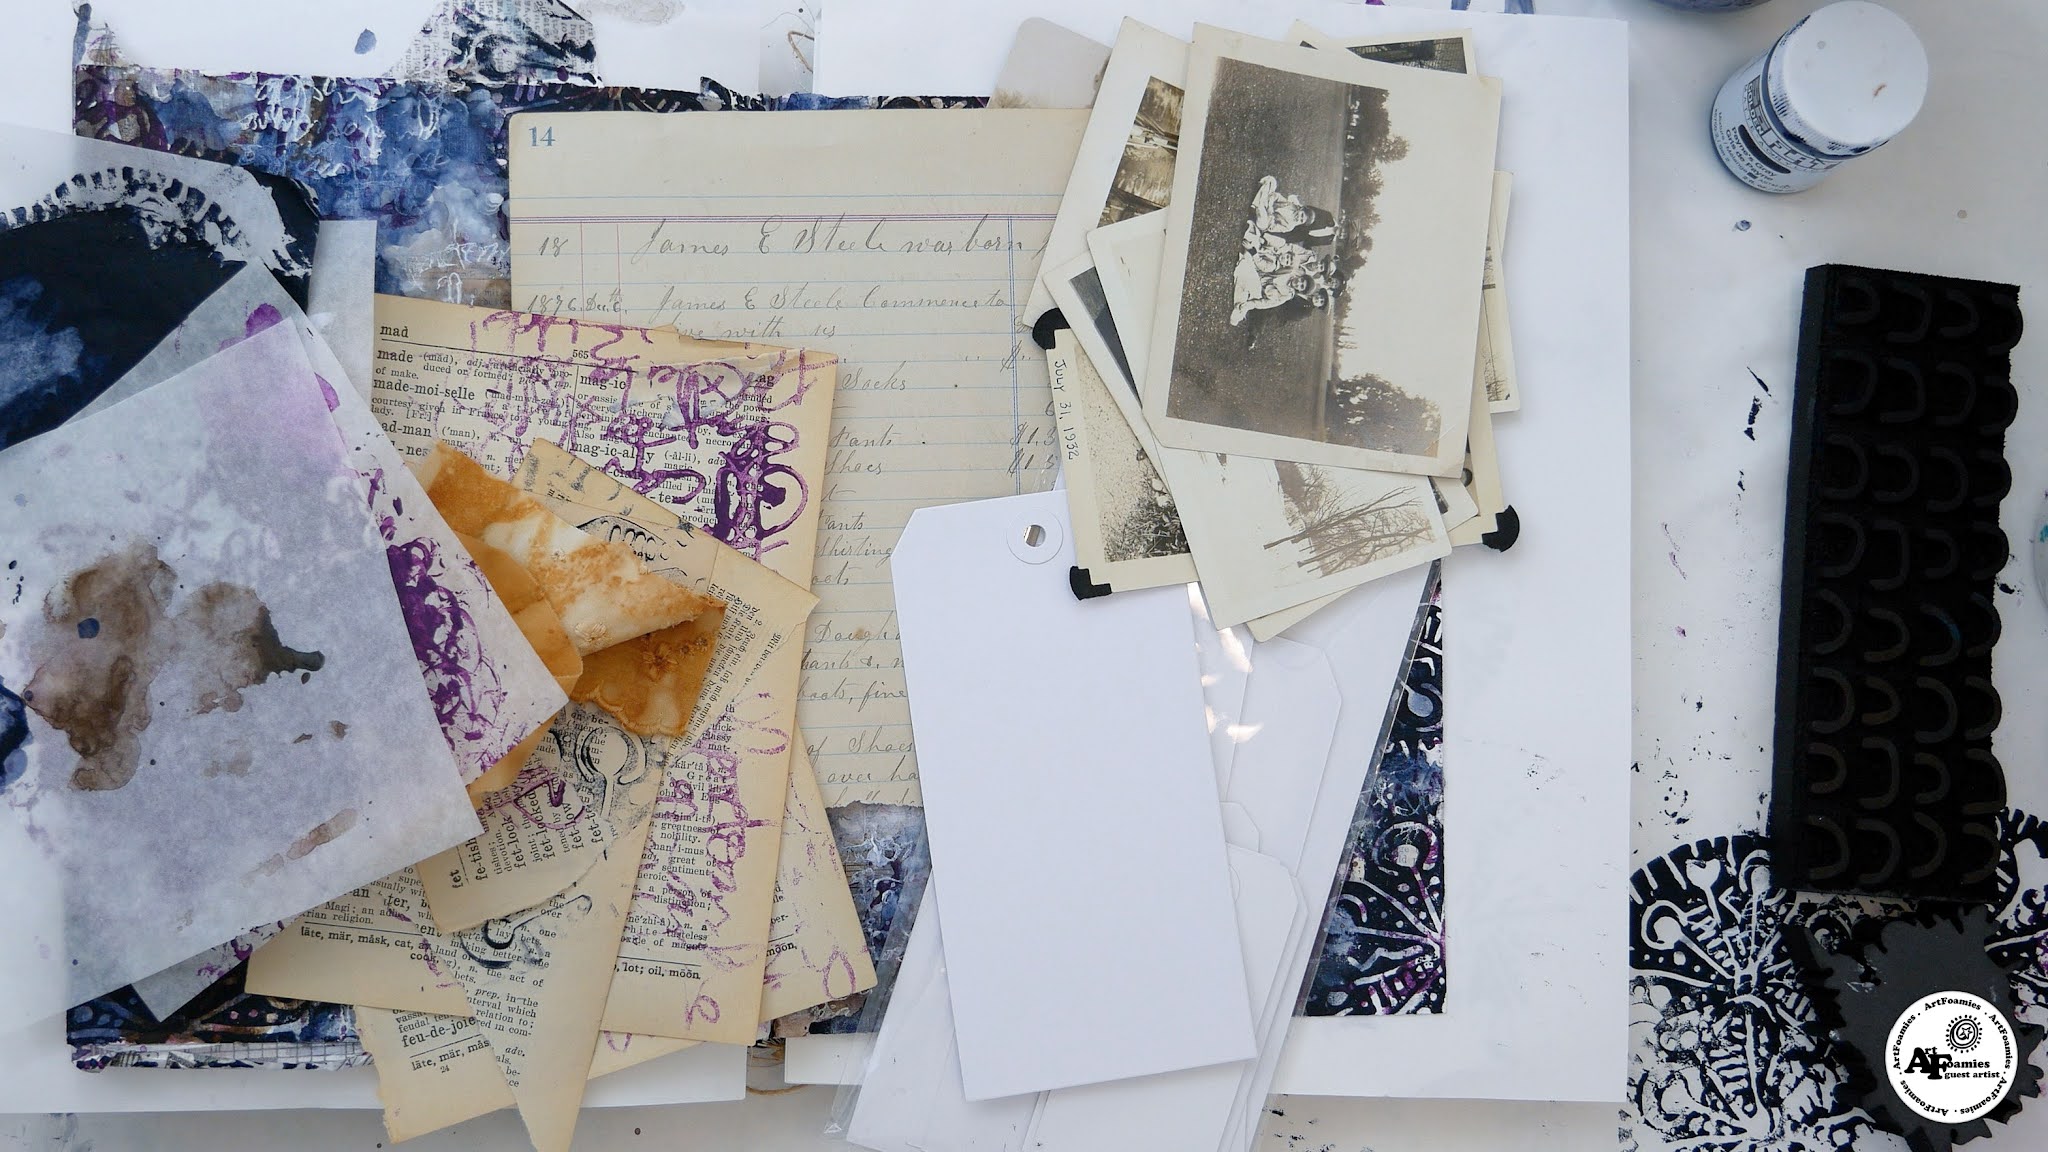
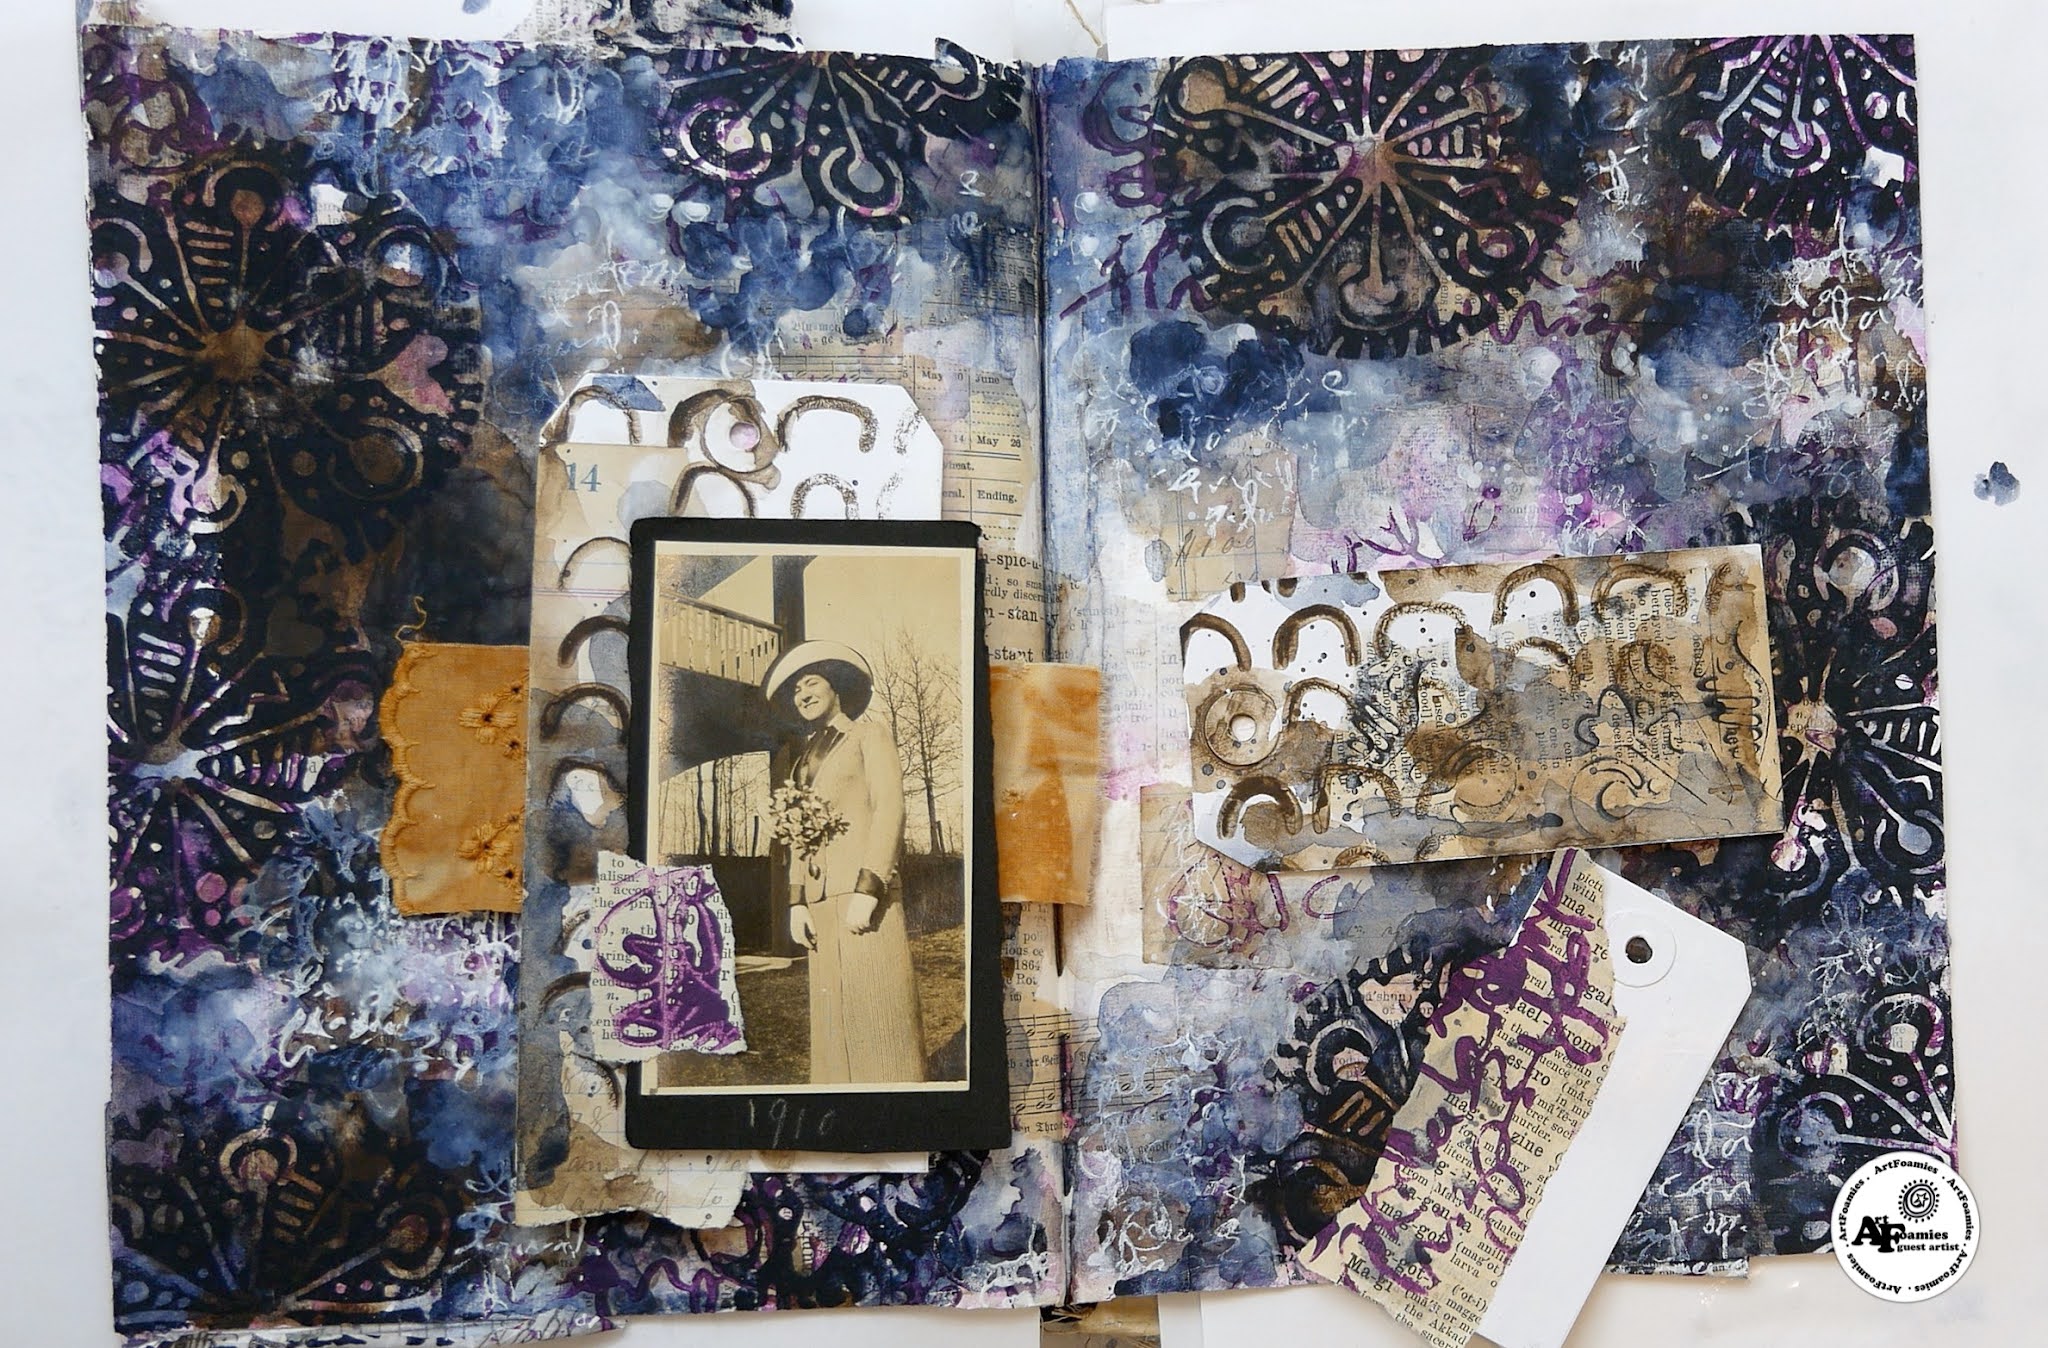
With my background finished and drying, it was time to figure out what to do next. Often it is so hard to cover up a background, isn’t it? I pulled out a bunch of vintage photos, some tags, the dried palette papers, book pages I’d stamped the Foamies off on, and some rust-dyed fabric an artist friend gave me
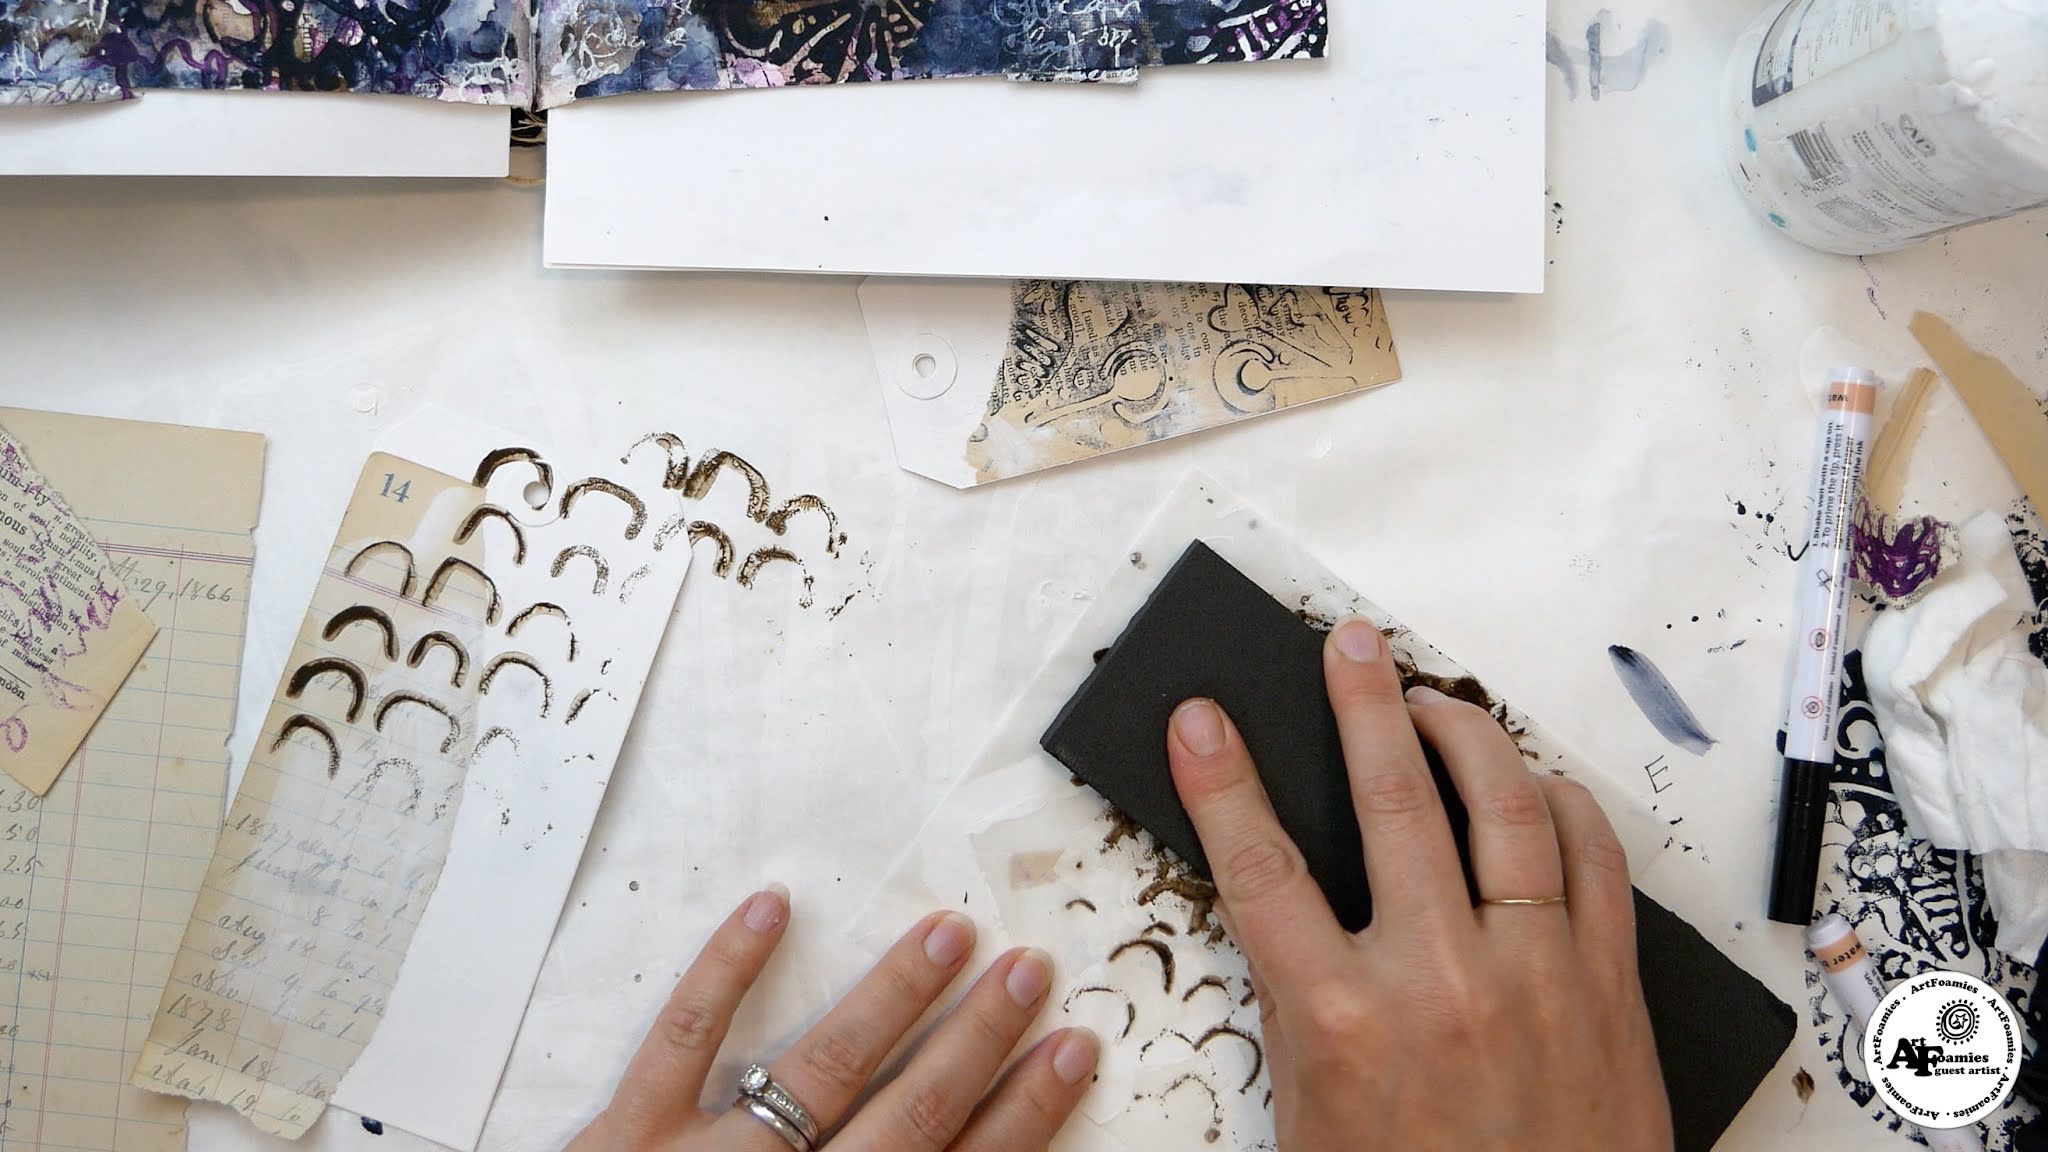
I added gesso to the white tags, collaged pages, Sepia ink, and more ArtFoamies. I wanted to use the Croquet stamp some place on these tags because the shape matched part of the Candy Love stamp. I used this Croquet stamp with the Sepia ink several places on the tags. I also added some more of the small Writer’s Block stamp.
This collage process took me a while! The only thing I knew for certain was that I wanted to use the photograph of the lady somewhere. I went back and forth on the layout, collaged papers, and ideas flooded my head! I grabbed some packing paper to sketch on with my stabilo all pencil to create a leaf and some circles for the layers. I layered, tore apart, layered again…and got frustrated several times.
Didn’t these ArtFoamies layer together so well? Using a script, a sold graphic one, and a mark-making one created amazing layers on my page. I’d love to see your creations layering the ArtFoamies you have. When you do, tag me on Instagram so I can see your amazing art (@nicolewatsonart).