100 Moons Creative - Fun with Art Foamies
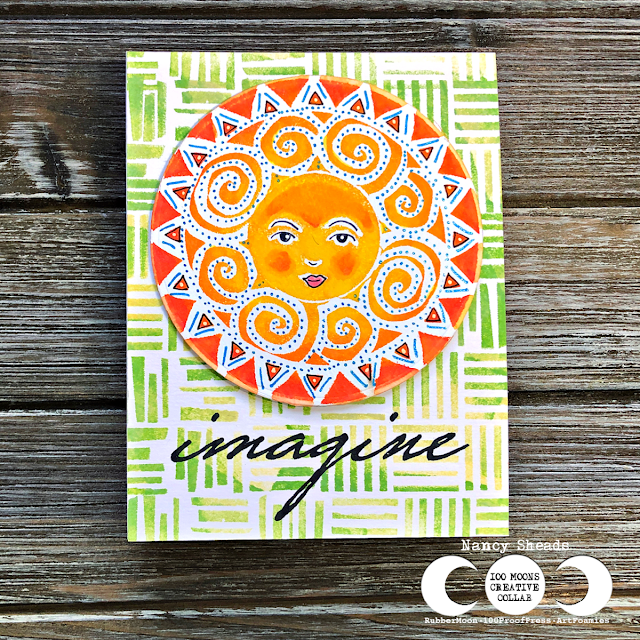
GOOD MORNING FRIENDS! This is Nancy Sheads and I'm back today with another project for 100 Moons Creative. For today's project, I wanted to create a simple card that was quick and easy to make but had a WOW factor.
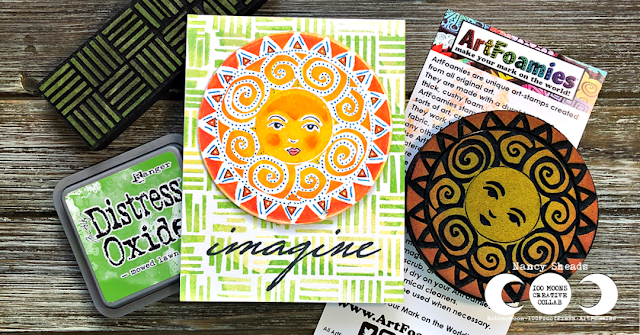
My project features the following stamps from RubberMoon and ArtFoamies:
- Kae Pea | Creative Concentrics - Celestial Rings | Foam Stamps - Set of 3 by Art Foamies
- Balzer Designs | Inner Struggle | Foam Stamp by Art Foamies
- Ma Vinci | BLP504G - Cursive "Imagine" - Rubber Art Stamp by Rubber Moon
- Additional basic supplies listed below.
Now I have to admit that before joining the 100 Moons Creative team, I hadn't tried any of the ArtFoamies stamps, but now that I have, can I just say how much I love using them?!? I'm a cardmaker and I love making my own backgrounds. I have a LOT of design paper in my stash, but I hardly ever use it anymore, opting instead for stenciled or ink blended backgrounds. So these ArtFoamies stamps really spark my creativity.
To be honest, I started this project in a completely different direction, using a different image for the focal point. But then I created the background and the two didn't go together. I loved the background more than what I did with the original image so I ended up in a completely different direction. Funny how that happens!
CREATING THE BACKGROUND
I started with a piece of Distress Watercolor Cardstock cut to 4.25 inches x 5.5 inches. I flipped the cardstock so that the textured side was face down. For the background, I used the Inner Struggle foam stamp. I randomly applied two colors of Distress Oxide Ink to the stamp - Shabby Shutters and Mowed Lawn - so that the stamped image would have a variegated appearance. Since size of the Inner Struggle stamp was less than 5.5 inches, I turned the stamp so that it was perpendicular to the cardstock. I stamped the image in the middle and then worked each side to the edge.
STAMPING SUN IMAGE
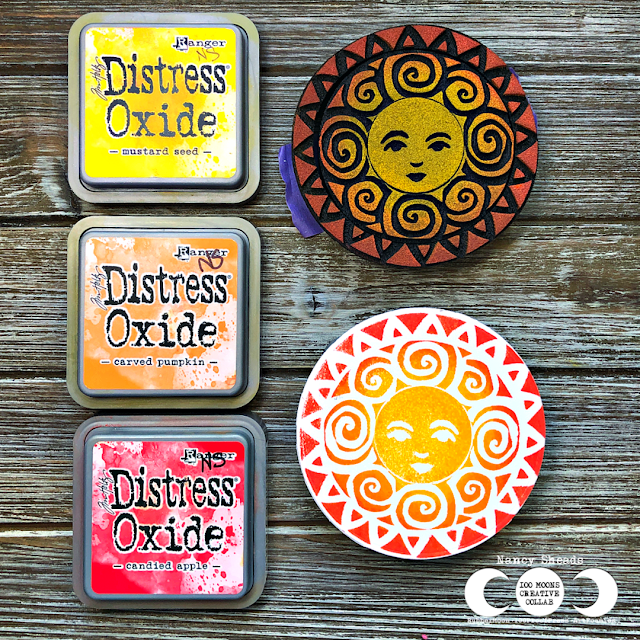
Using the largest die in the Spellbinders Standard Circles Large set, I cut a circle from a piece of Distress Watercolor Cardstock. For the sun image, I used the Celestial Rings stamp. Since this stamp is in three parts, I applied a couple of pieces of low tack tape on the back to hold them together while I stamp. Starting from the center, I applied three colors of Distress Oxide Ink - Mustard Seed, Carved Pumpkin, and Candied Apple. I stamped the image on the smooth side of the circle die cut. Afterwards, I used a water brush to lightly blend the colors where necessary.
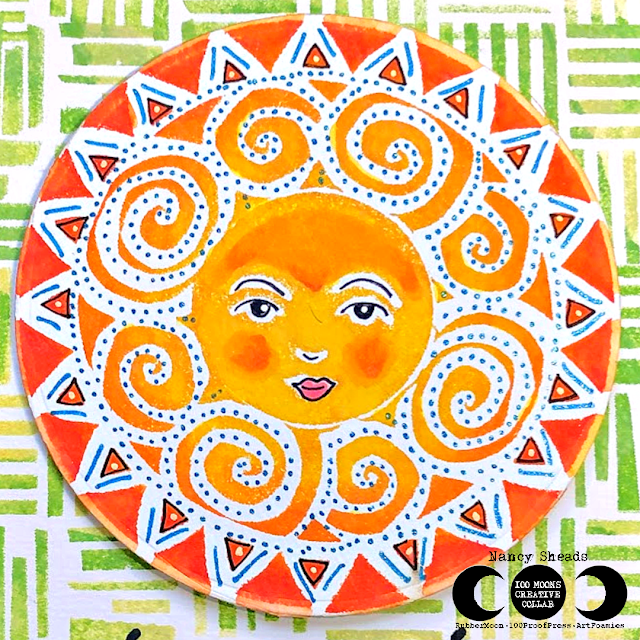
Once the ink was dry, I used a black Copic multiliner to add details to the face. I used Copic markers (R20, R22) to further enhance the facial features. I normally would not use Copic markers on top of Oxide ink, but to be honest, I forgot that I hadn't used regular Distress Ink. It didn't seem to damage the marker nibs, but you might want to use a water-based marker instead. I used my Copic multiliner and a blue gel pen to add more details to the sun rays. I'm not much of a doodler, so I kept the pattern simple.
PUTTING IT ALL TOGETHER
All that's left is assembling the card. I stamped the sentiment on the background using Versafine Clare ink and then adhered it to my cardbase. To add dimension, I cut a piece of craft foam slightly smaller than the sun image and glued it to the back. You could use foam tape instead, but I prefer craft foam because it supports the entire layer. I applied glue to the other side of the craft foam and positioned the sun image on the card.
That's it for today! Hope you found some inspiration and will give these fun foam stamps a try. See you soon!
SUPPLIES
Paper: Neenah Solar White 110#; Distress Watercolor Cardstock by Ranger - Tim Holtz
Stamps: Kae Pea Creative Concentrics - Celestial Rings by ArtFoamies; Balzer Designs - Inner Struggle by ArtFoamies; Ma Vinci | BLP504G - Cursive "Imagine" by RubberMoon
Inks: Versafine Clare in Nocturne by Tsukineko; Distress Oxides in Shabby Shutters, Mowed Lawn, Mustard Seed, Carved Pumpkin, and Candied Apple by Ranger - Tim Holtz
Dies: Standard Circles Large by Spellbinders
Embellishments: Copic Multiliner SP Pen - 0.5 mm;
Copics: R20, R22


