
Mary Englebreit's Wishing Upon A Star by Nancy Sheads
GOOD MORNING RUBBERMOON FANS! Today's project was actually inspired by our own Jenn White who recently posted her rainbow colored tiles, tassels & tuffets using stamps from ArtFoamies. If you missed her blog post, take a look at it here!
In a recent conversation, Jenn revealed that she often stamps out mass quantities of things and sends them out to friends. I was a happy recent recipient of some of her colorful Moonglo Bright Rainbow HeArtFoamies featured in her January post. What I love about Jenn's artwork is that she just goes with the flow, enjoying the journey rather than worrying about the destination. She plunges right in and figures it out (or not) as she goes. Either way, she just plays and finds her inspiration along the way.
I'm the exact opposite. I can't seem to start unless I can see it in my head from start to finish and visualize the end result. As a result, I spend a lot of time staring at my empty craft mat ....
So Jenn encouraged me to just play with my art, pretending that I'm once again in preschool, experimenting, discovering, and playing. So brings us to today's project.
I pulled out my favorite Mary Englebreit stamps from RubberMoon -- Wishing Upon A Star (Small). Did you click on that link to take a look? As some of you know, RubberMoon Stamps aren't available just anywhere! You have a couple of options. The entire catalog is available to subscribers to Kae Pea's Patron Group where for as little as $2.00 a month you can:
- Access the RubberMoon Catalog for all of your RubberMoon purchases, including thousands of art stamps.
- Access the Private Fb comMOONity
- Access the morning heART daily mix media videos.
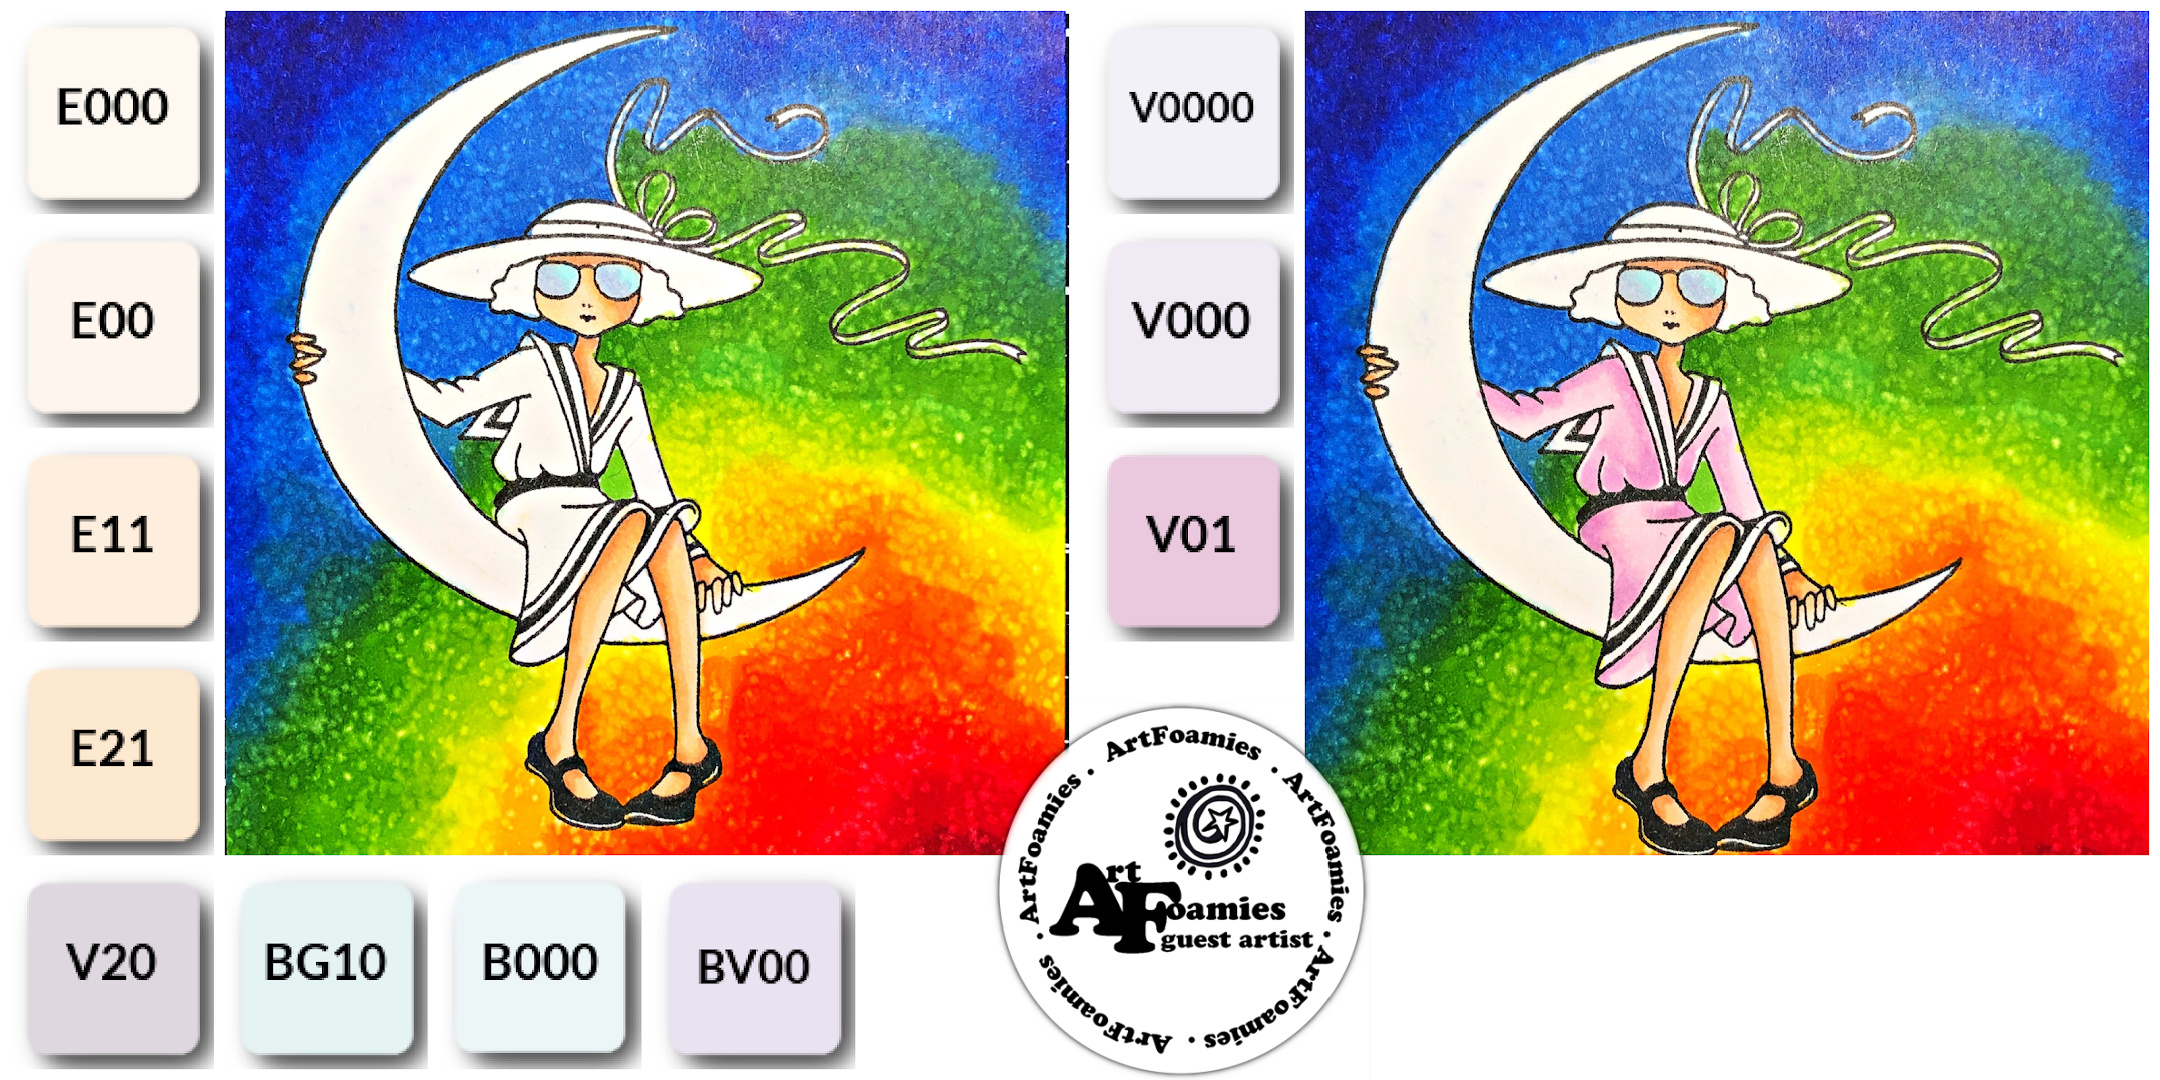
Since I'm going to use my Copic markers, I stamp the image on Hammermill cardstock with a Copic friendly ink. Next, I pull out a range of Copic markers and laid them out on my desk in rainbow order. I knew that I wouldn't use all of them, but had them handy so that I could easily jump between colors without a lot of thought. Then I started blocking in areas of the background with color.

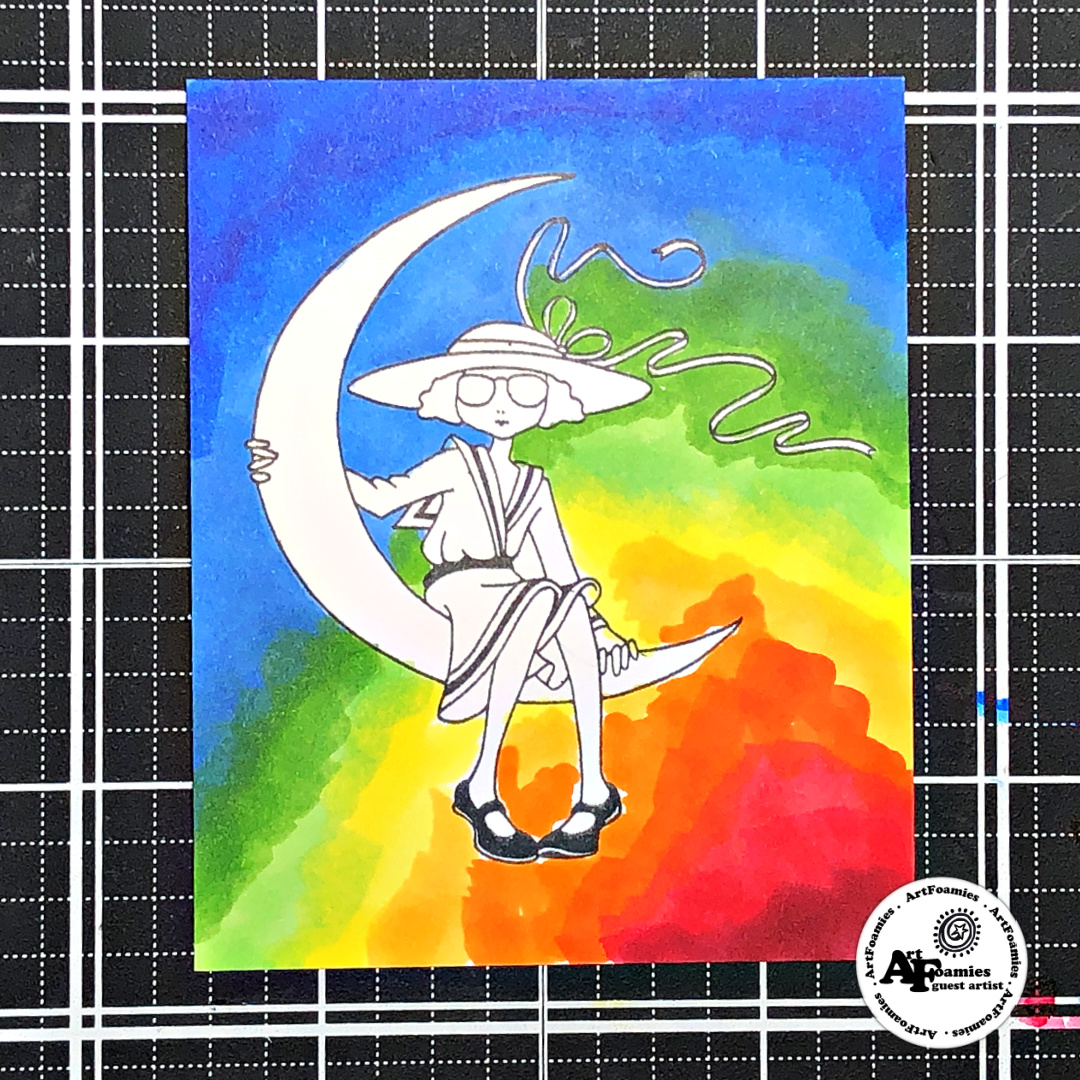
I kept working until I had the entire background filled. At this point, I wasn't concerned about getting a smooth blend between colors. I just wanted to get the colors placed on the background.
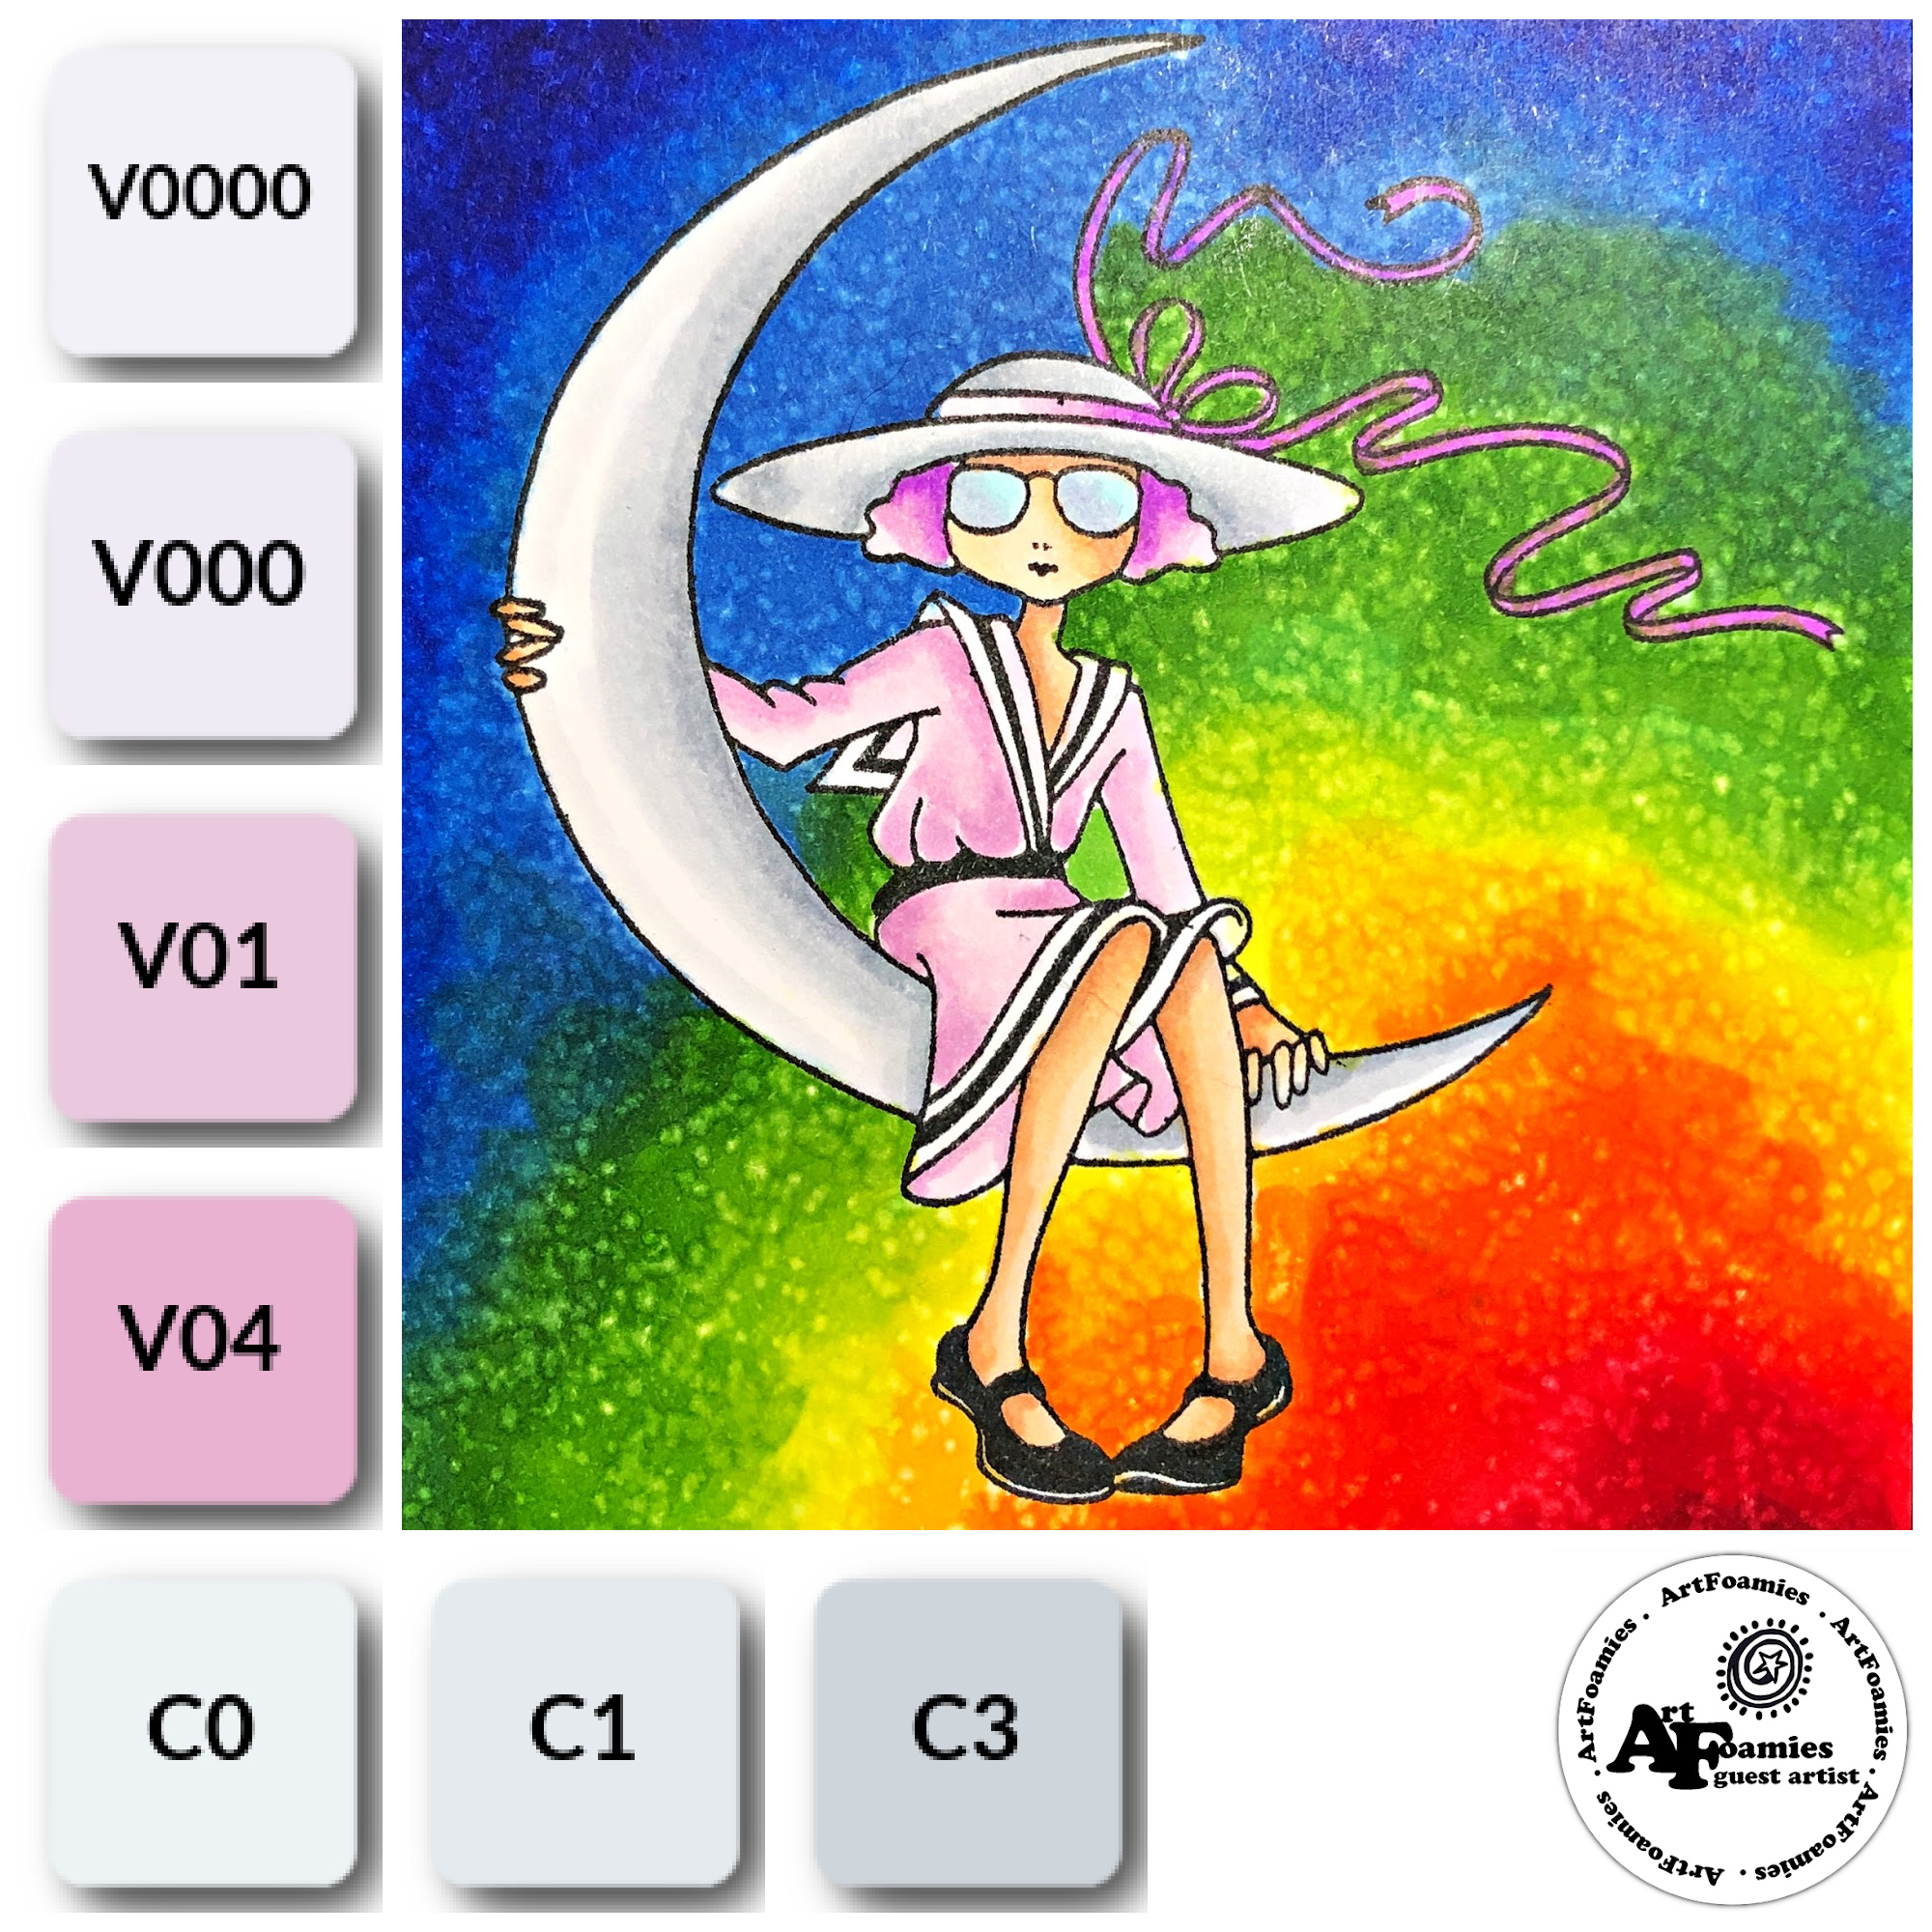
I added a second coat of each color improving the blending and color depth as I went along. I also used tip to tip blending to help with the transitions between colors.
If you are not familiar with this Copic technique, select two markers in your blend (dark/medium or medium/light) and hold the lighter marker in your dominant hand (i.e. the hand you write with). Using the light marker, pick up some of the ink from the tip of the darker marker. When you color, you will have a tone that is a blend of the two markers that will make it easier to transition from dark to light.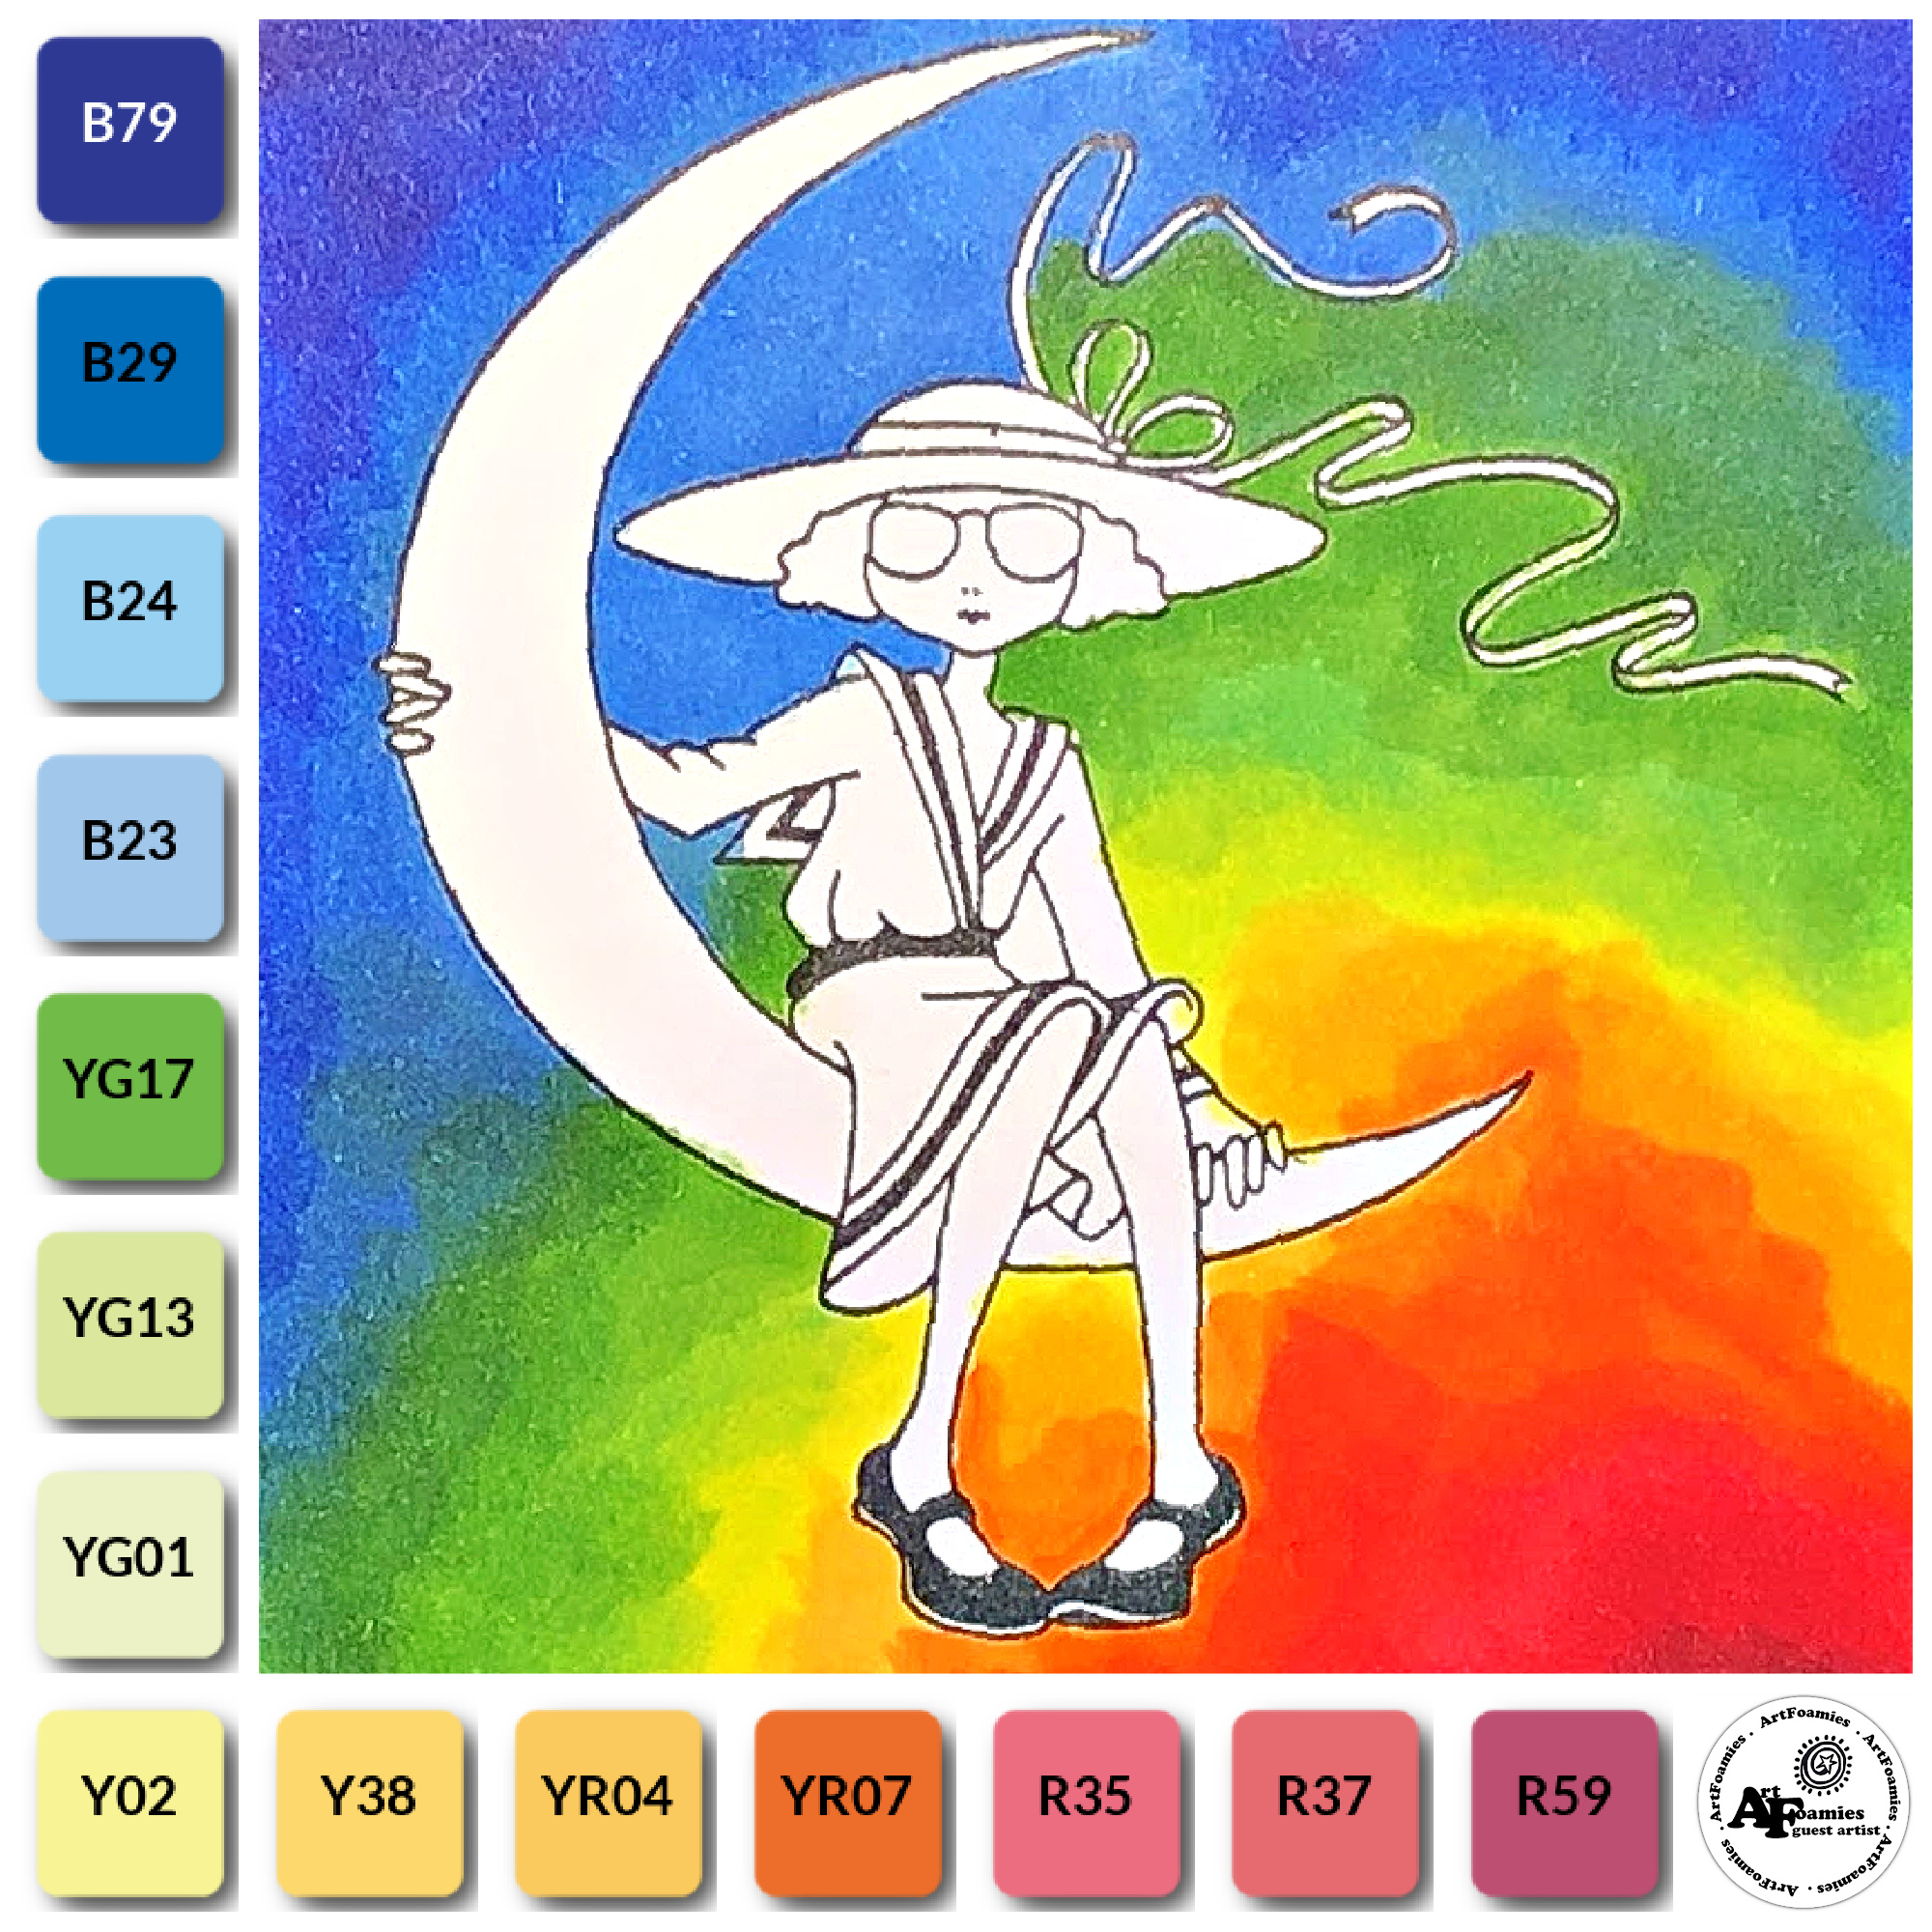

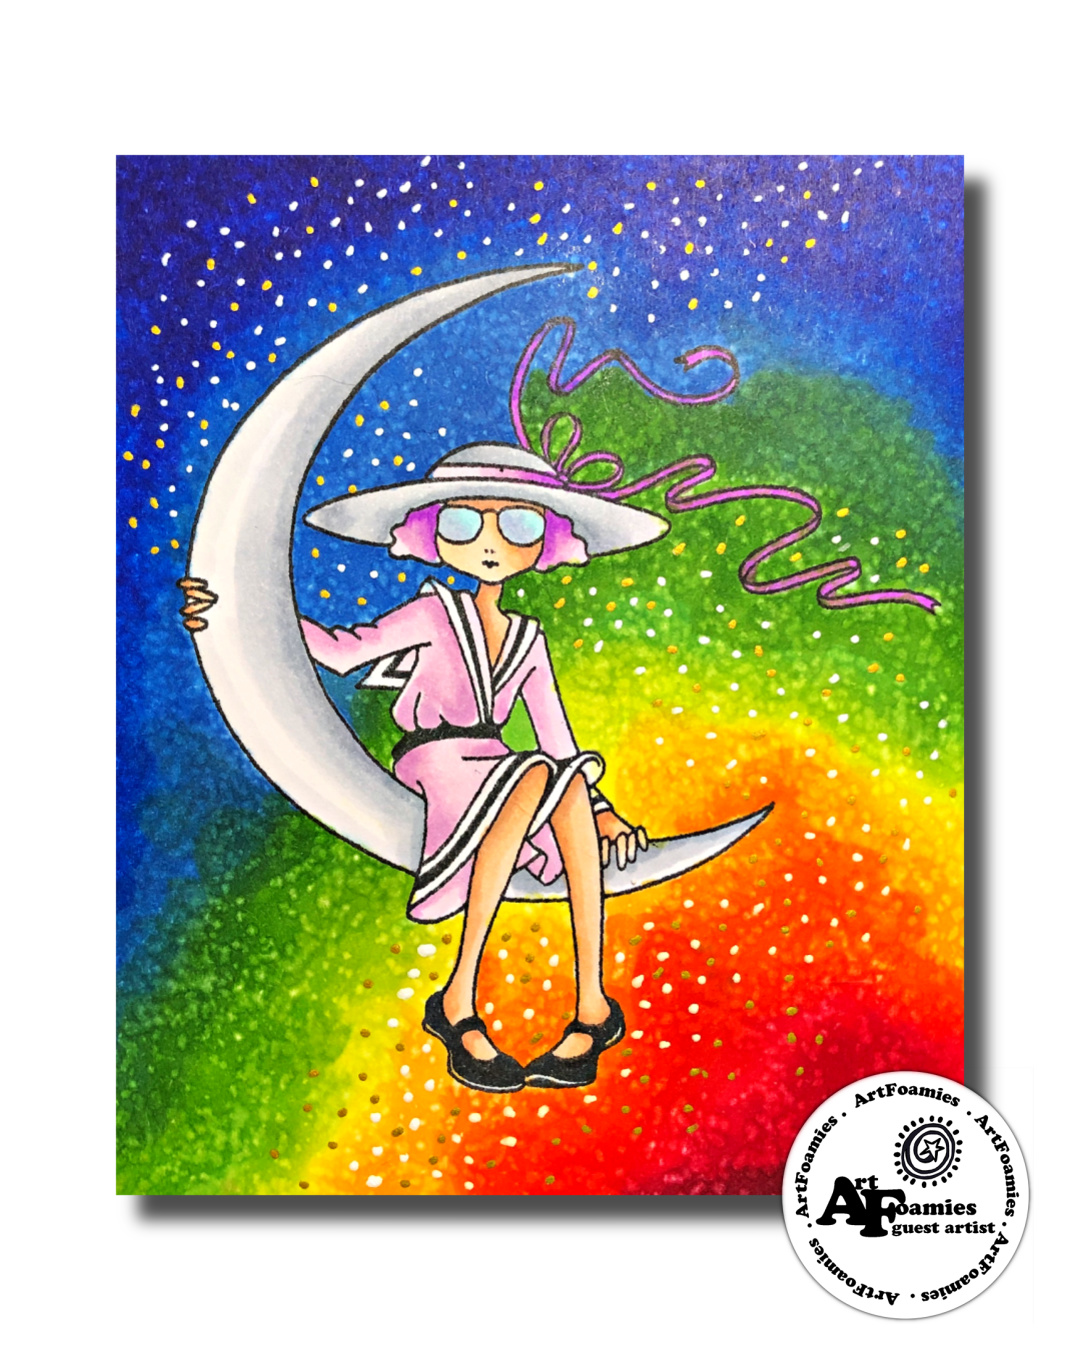
- Your inked background needs to be complete dry before you start dabbing, else the dots will just blend together.
- This technique also causes some movement of the ink so it helps to further blend transitions from one color to the next.
- Since the ink can move, you need to be careful that the ink doesn't bleed into the uncolored parts of the stamp. If that happens, use your 0 blender marker to push the ink back where it belongs.