

Celestial Dreamcatcher
Celestial Dreamcatcher

Hello again everyone! It's Patti Campbell here to share how I made this fun stampdala dreamcatcher.
For this project I used:
- Stamp Buddies
- ArtFoamies:
- Wingspan by Sandra Evertson
- Spiraling from Microcosms Set by Kae Pea
- Creative Concentrics - Celestial Rings by Kae Pea
- Foam Frames & Shapes - Heart by Kae Pea
- RubberMoon:
- 1/2 yd. of natural canvas
- 18" metal hoop
- hemp cord
- feathers
- eyelets
- eyelet setter
- small hammer
- hole punch
- pencil
- scissors
- Jacquard Textile Paint in 101 yellow, 111 sky blue, 123 white, 106 true red, 122 black, 116 apple green, 110 violet
- rainbow colored cotton thread
- sewing machine
- iron
Step 1:
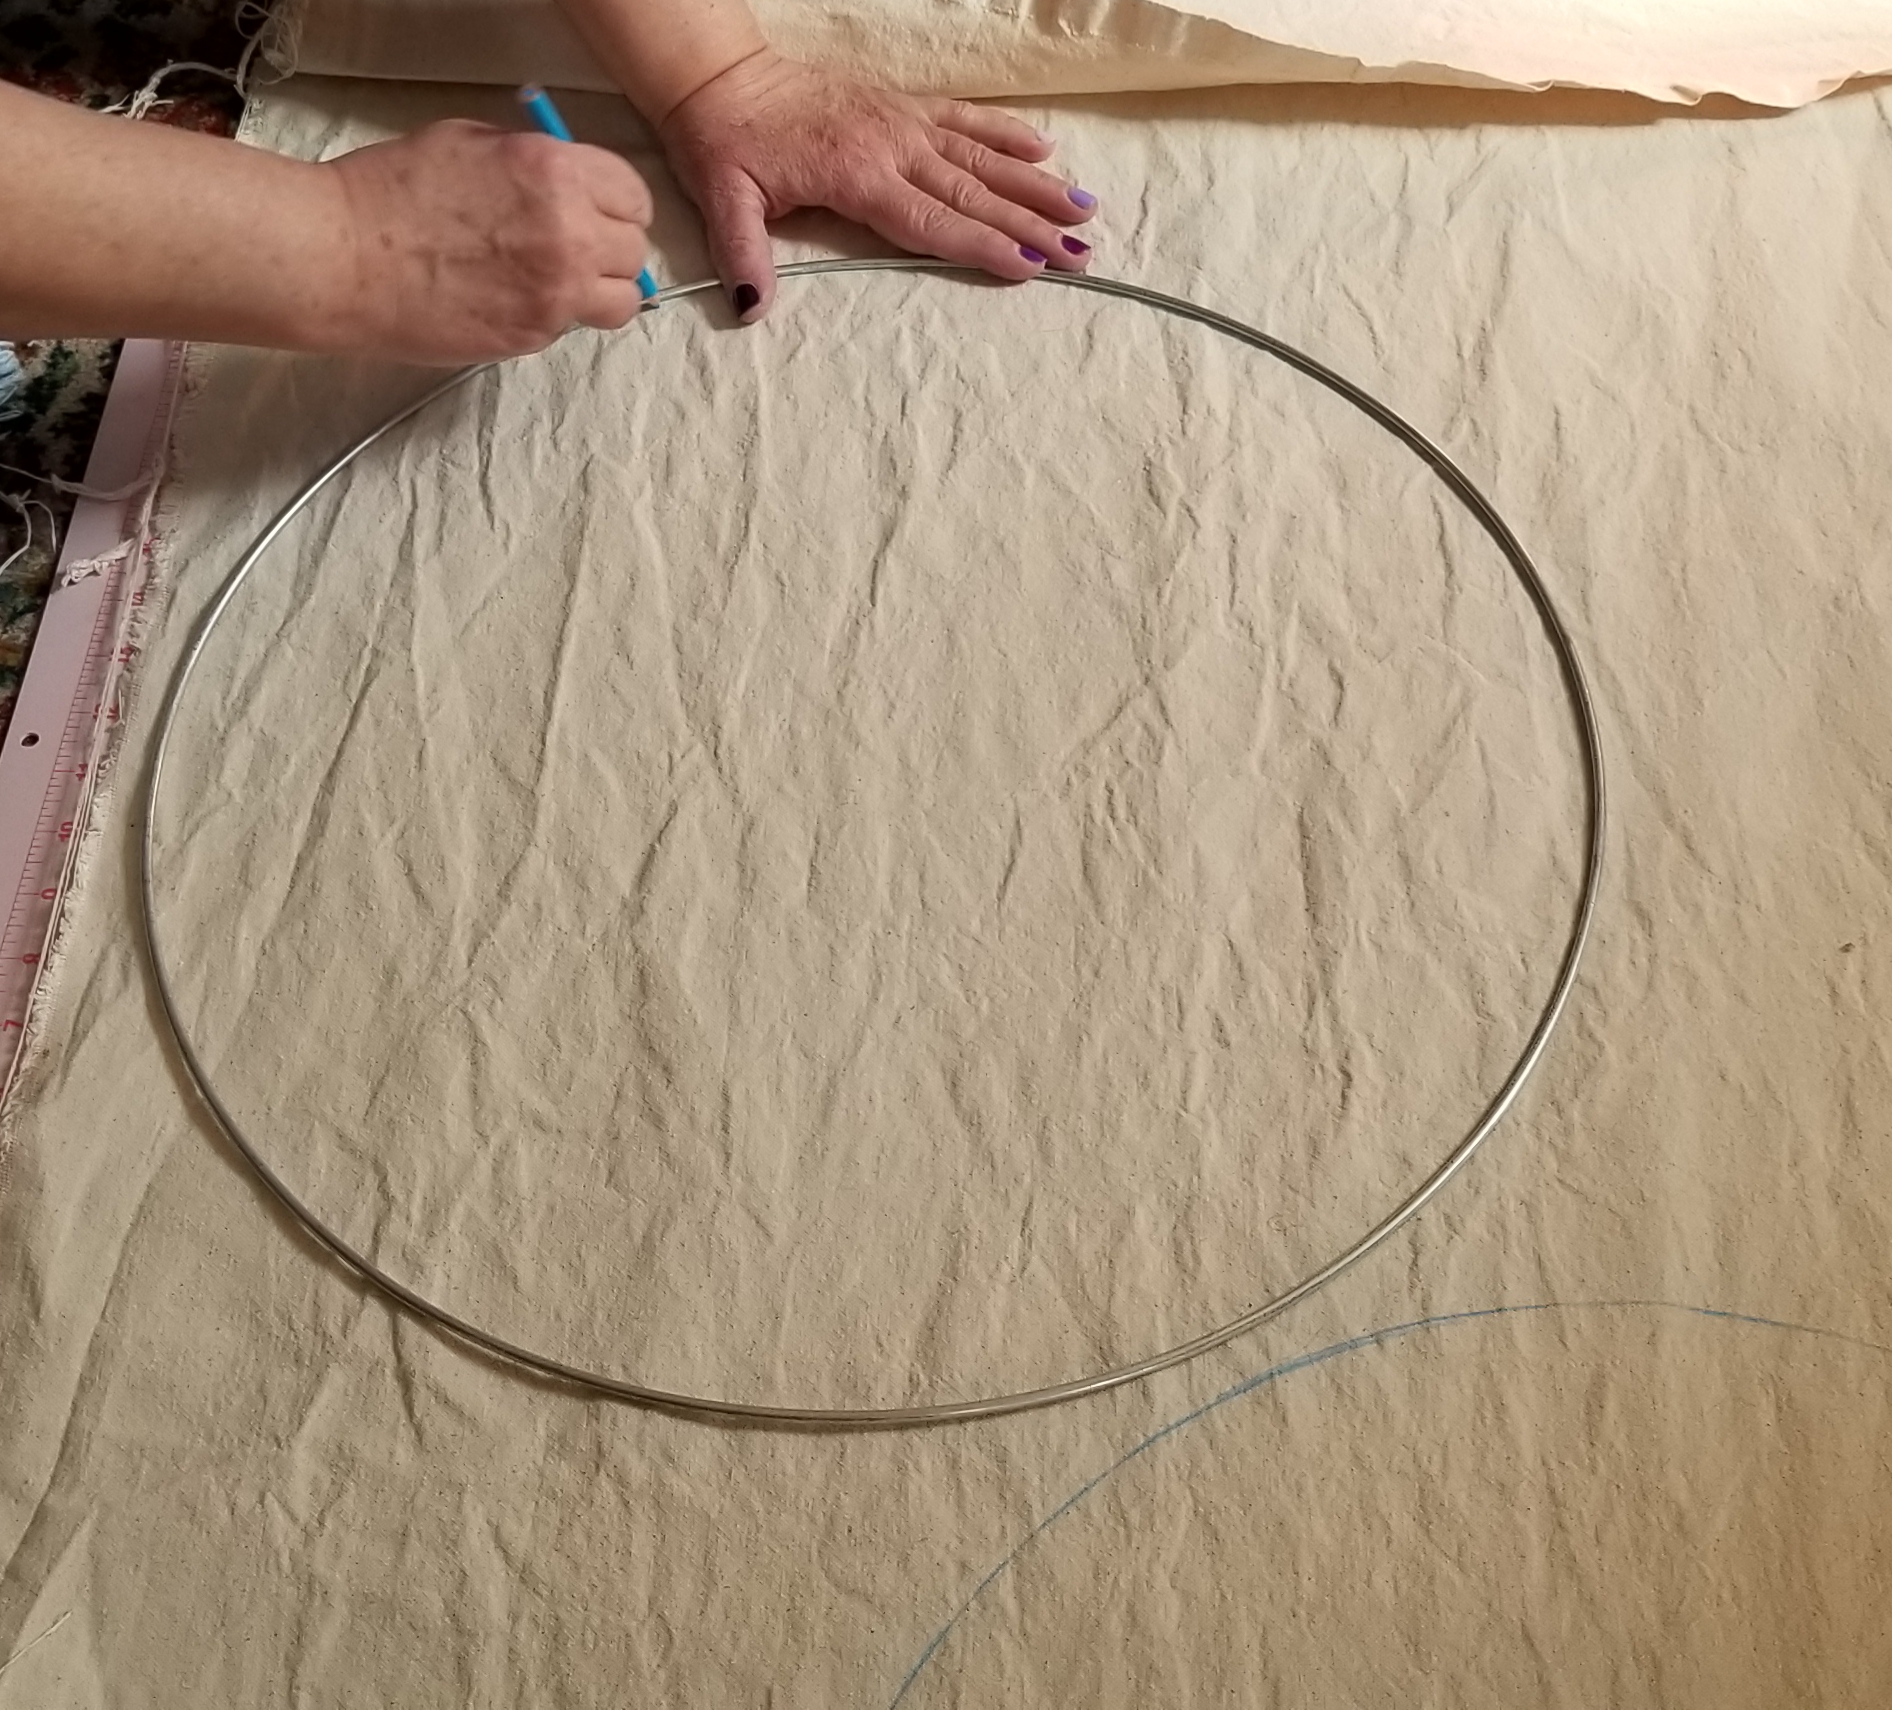
With a pencil I traced the inside of the metal hoop onto the canvas 2 times.
I cut out the 2 circles I traced.

I folded the circles in half, and then in half again and pinched the point to make a crease in order to find the center. Then I laid it out to be ready to stamp.
Step 4:
I put the paint on the stamp buddy in a circular rainbow pattern.

Using the paint on the stamp buddy I inked up the Spiraling stamp and then stamped it onto the center of the canvas circle.

Step 6:
Using a Scrap Buddy with the orange paint, I inked up the outside ring of the Celestial Rings set and stamped it around the spiral on the canvas.


I used a scrap buddy with the red paint to ink up the center of the heart stamp and placed it on the North, East, South, and West points of the canvas circle.


Using the blue and white paint mixed together on a scrap buddy, I inked up the Wingspan stamps, and stamped the wings on either side of each heart.

Next, using the same stamp buddy with the circular rainbow paint, I inked up the middle ring from the Celestial Rings set, and stamped it between the tops of each heart on the canvas.


Using the center (face) of the Celestial Rings set with the yellow and white paint, I stamped in the middle of each circle from the previous step.
Step 11:
Using the blue, white, and purple paints on a stamp buddy, I inked up the Small Moon Goddess and stamped it in between each heart, under the circles.

Be sure to let ALL of the paint dry thoroughly before the next step!
Step 13:
Pin the 2 circles of canvas right sides together.
Step 14:
I went to my sewing machine and sewed 1/4" seam allowance leaving an opening at the bottom to turn it right side out.

Remove the pins from the canvas and turn the circle right side out.
Step 16:
I pressed the seam with an iron, and then folded in the opening to complete the circle and pressed that with an iron.
Step 17:
Using my rainbow thread I stitched 2 rows of decorative zigzag stiches around the whole circle.

Using the leather hole punch, I punched 16 holes evenly spaced around the outside of the circle. You can measure this if you want to, but I did not.
Step 19:
Using the eyelets and the eyelet setter, I placed eyelets in all 16 holes.

I cut 8 pieces of hemp cord, and looped them around the metal hoop.
Step 21:
Each end piece of every loop goes into separate eyelets, one to the right of the loop and one to the left, leaving the loop in the center of 2 eyelets.

Step 22:
I tied the cords on the back on the circle in a double knot.

Step 23:
Taking the ends from the knot, I looped them over the hoop and made another knot behind the canvas.

Step 24:
I made sure the knots were tight and then trimmed the ends so they don't show.
Step 25:
I looped some more strands of cord on the bottom of the hoop to make long fringe.

Step 26:
I tied feathers and wooden beads randomly onto the fringe, then trimmed the fringe to my liking.
Step 27:
I added a loop using the cord to the top for hanging.

💖Hope you enjoyed my project!💖
Love and Laughter,
Patti