

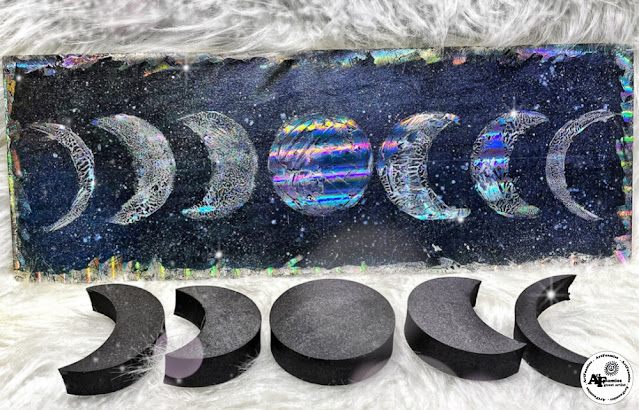
Glimmer Moon Phases by Renae Davis

WELCOME BACK! I'm Renae Davis and I am this week's guest designer here on the Creative comMOONity blog.
Moon phases and celestial themed pieces are quite trendy at the moment and making DIY crafts have never been easier. Kae Pea designed the perfect foam stamp set to make anyones moon phases dream decor come true. This project involves only a few simple tools to create a shiny but a little bit grungy home decor piece.
Project Materials:

I applied two generous layers of black metallic acrylic paint with a paint brush onto a 16.5 x 8” piece of white mixed media Crescent board.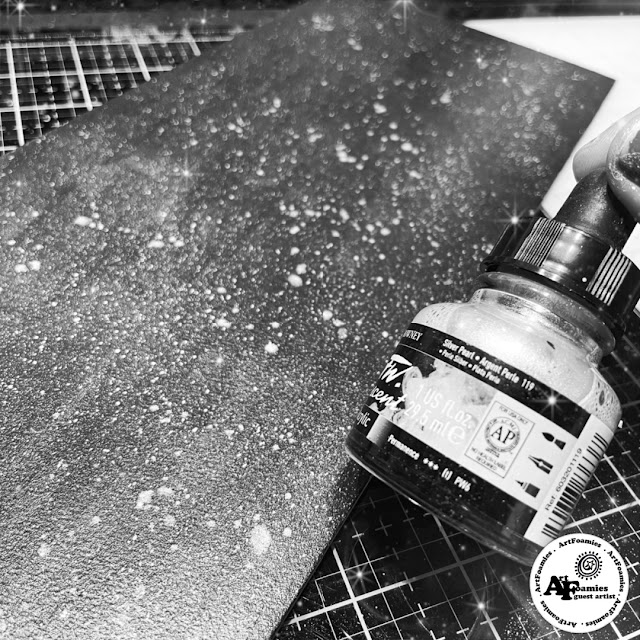
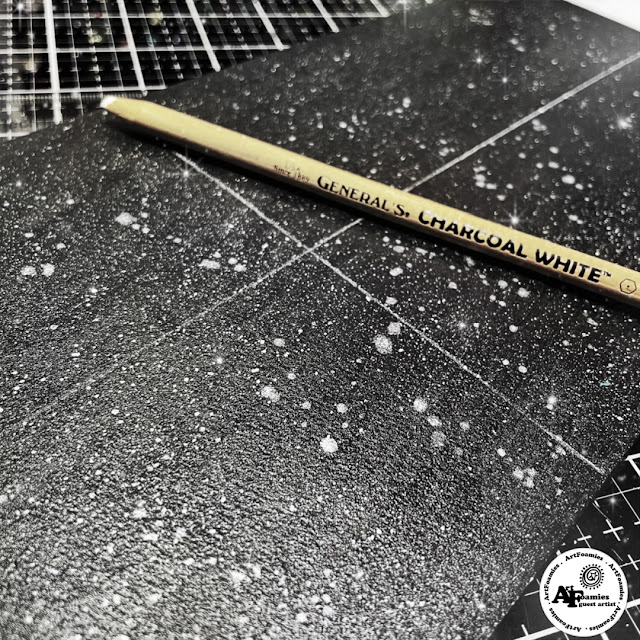
I drew both horizontal and vertical center lines across the board using a white charcoal pencil. This will ensure that my stamps will remain centered for the project.
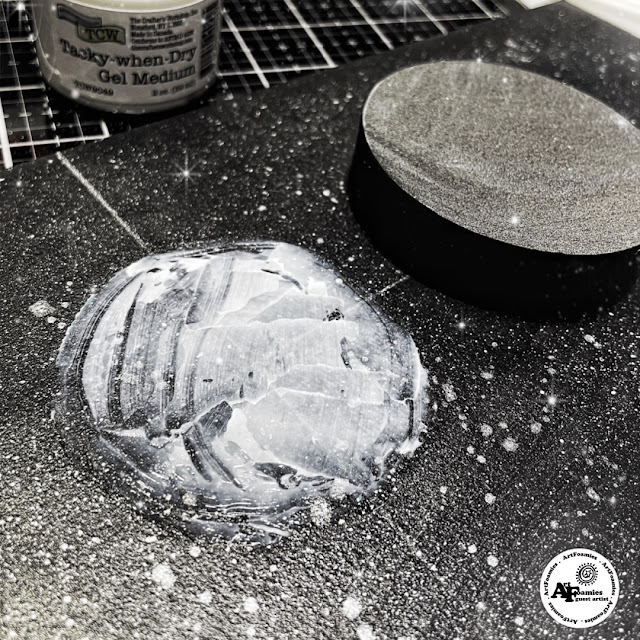 I stamped the circle in the middle of the intersecting lines on the board pressing down firmly to ensure the gel made contact with the board on every edge of the stamp. Lifting the stamp from the board, I scraped off the excess gel with a palette knife and placed a little bit onto the stamped image where the gel layer was a little bit sparse. Once stamped, I cleaned off the remaining gel from the stamp with a baby wipe.
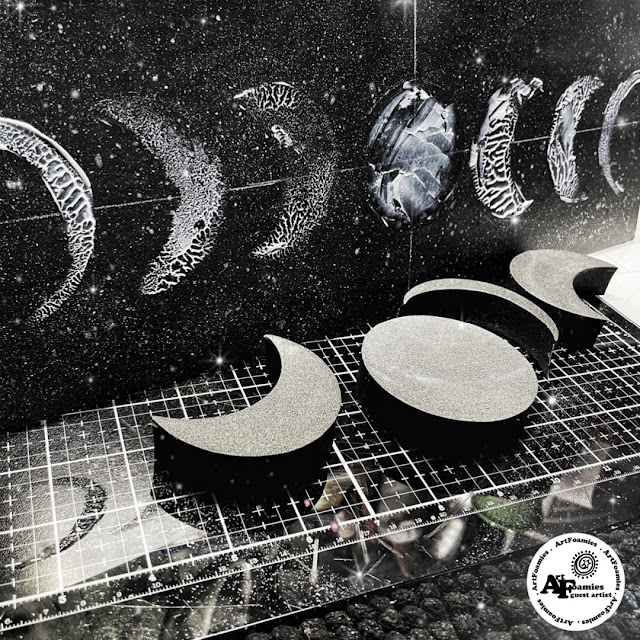 I repeated the same process with the remaining moon stamps from this set, rotating the stamps for the appropriate direction of the moon phase cycle. Once finished stamping while allowing the gel to dry, I cleaned my stamps with warm soap and water to remove a remaining tacky gel from the foam.
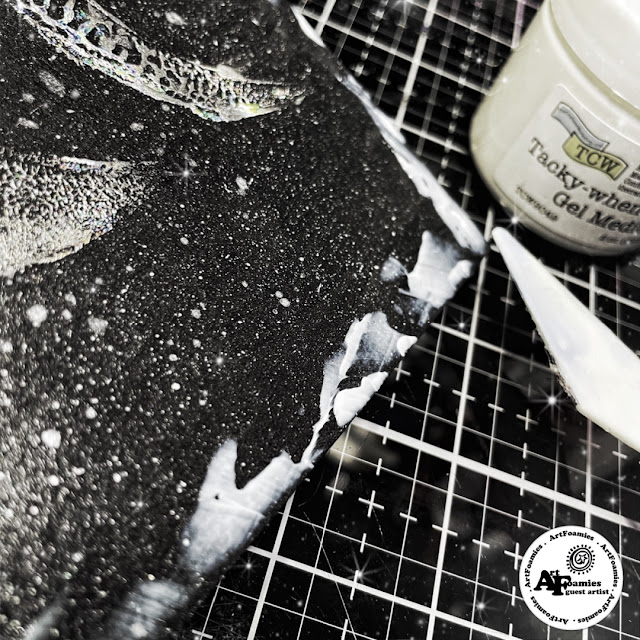
Carefully lifting the foil sheet from the gel mixture, you can now see the beautiful details left behind from the stamp. Since it is not a perfect impression, the gel created intricate little lines and pattern adding interest to each moon when stamped. I placed the foil sheet back over several times to make sure that there was no tackiness from the gel left.
With a palette knife, I spread a thin layer of the gel around the edge of the board and repeated the same process with the foil technique once dry.
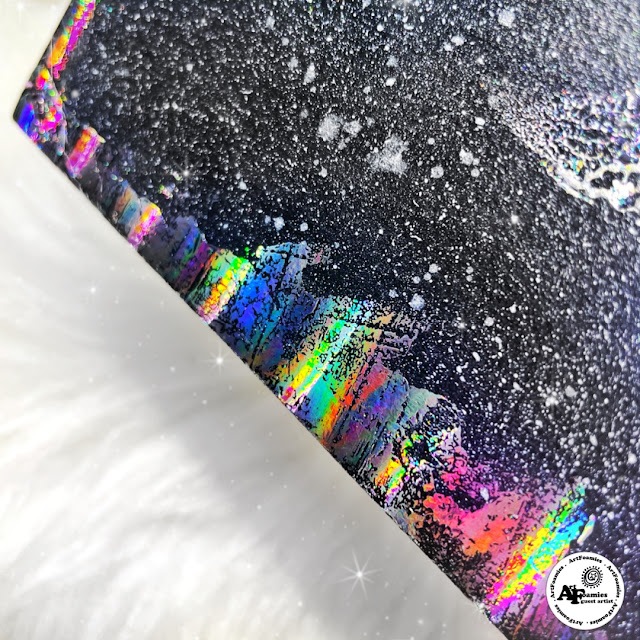
The final results of the foil process is beautifully grungy. The true color of the foil is hard to capture with a lens but this picture is the closest I could get to.
I hope you give this technique a try in whatever you decide to create!
- Kae Pea | Phases | Foam Stamps - Set of 5 by ArtFoamies
- 16.5 x 8” Mixed Media Board
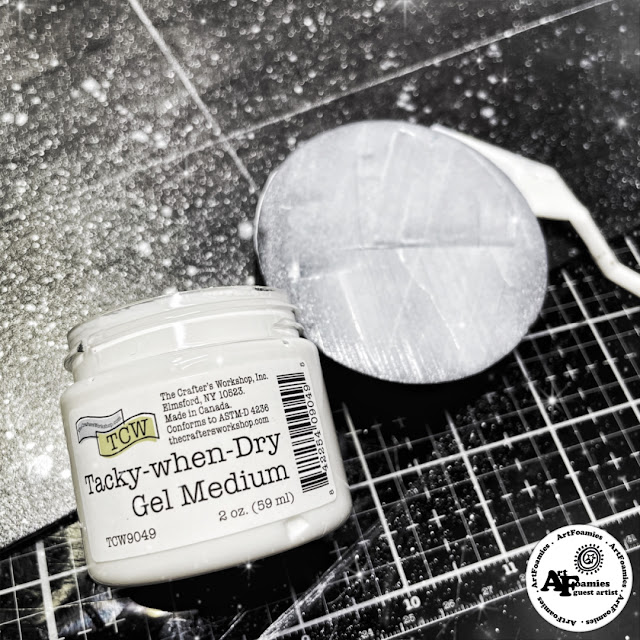
- Tacky When Dry Gel Medium
- Black metallic paint
- Silver fluid acrylic ink
- palette knife
- baby wipes
- foil
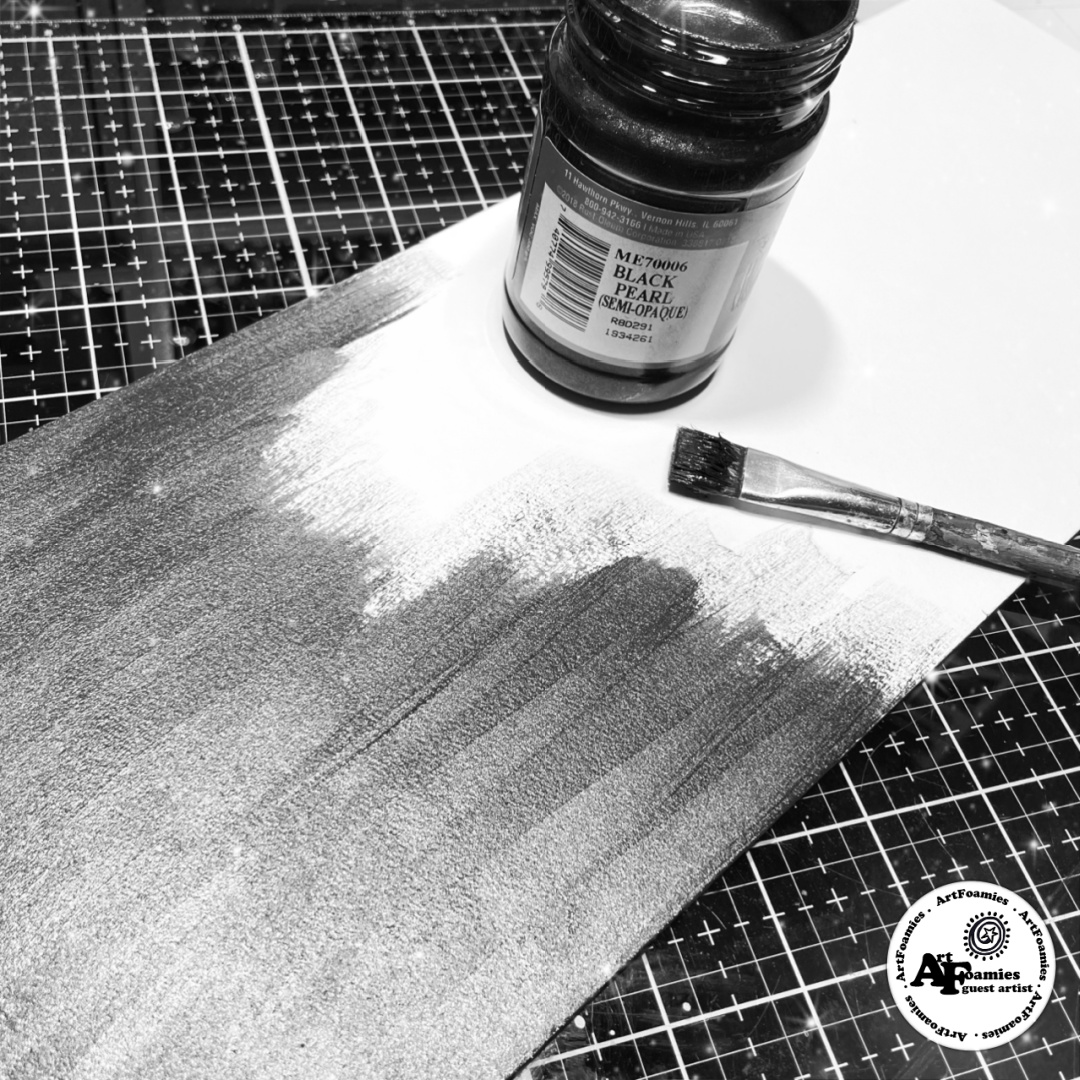
I applied two generous layers of black metallic acrylic paint with a paint brush onto a 16.5 x 8” piece of white mixed media Crescent board.

I splashed a layer of silver acrylic ink on top of the painted board using both a toothbrush in a flicking motion as well as a small paint brush. I let this dry completely.

I drew both horizontal and vertical center lines across the board using a white charcoal pencil. This will ensure that my stamps will remain centered for the project.

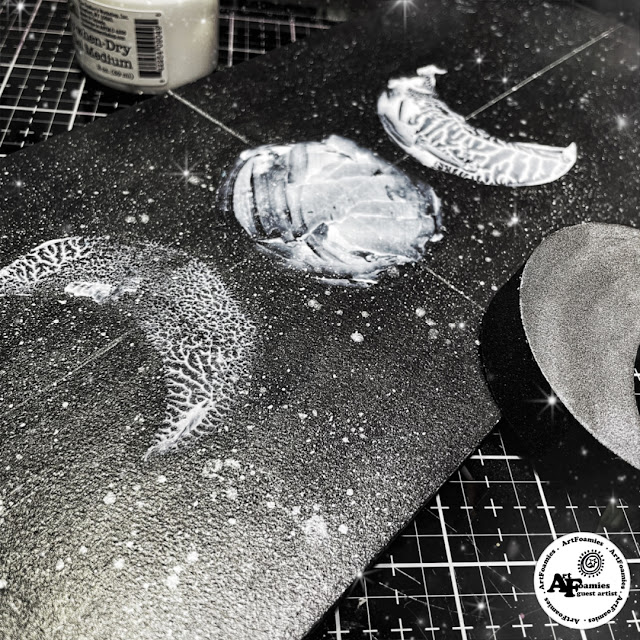
I applied a layer of Tacky When Dry Gel Medium (The Crafter’s Workshop) with a palette knife onto the full moon circle foam stamp from the Moon Phases Stamp set by Kae Pea. I’m going for a grungy look for this project so I did not worry about the smoothness of the gel medium. I applied enough of the gel onto the stamp so I could see a fairly even amount of white layer of gel. (The gel will dry clear when dry).


On both sides of the full moon circle stamp, I applied the gel on the stamp and stamped the next moon in the phase cycle- rotating the moon stamp to fit the direction of the cycle for each side.


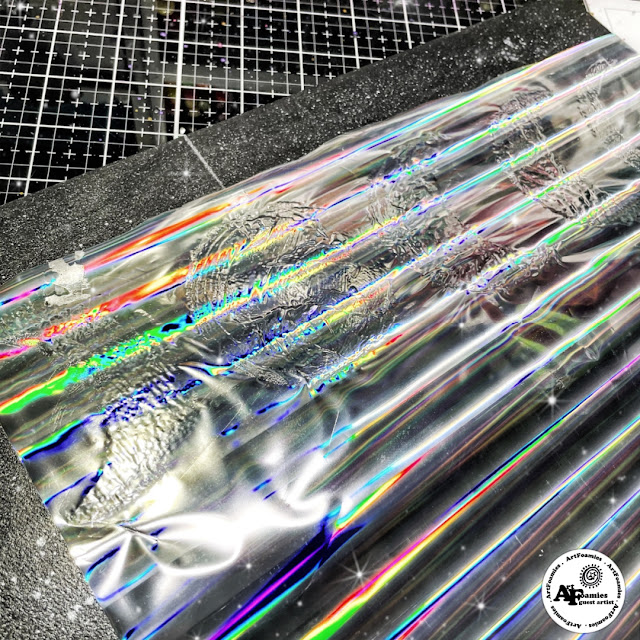
Dry time for the gel is about 30 minutes depending on the thickness of the gel applied. Once dry, I placed a strip of holographic foil (from Heidi Swapp MINC collection) on top of the stamped images and firmly rubbed over the entire sheet with my fingers. You can use a burnishing tool if you like.

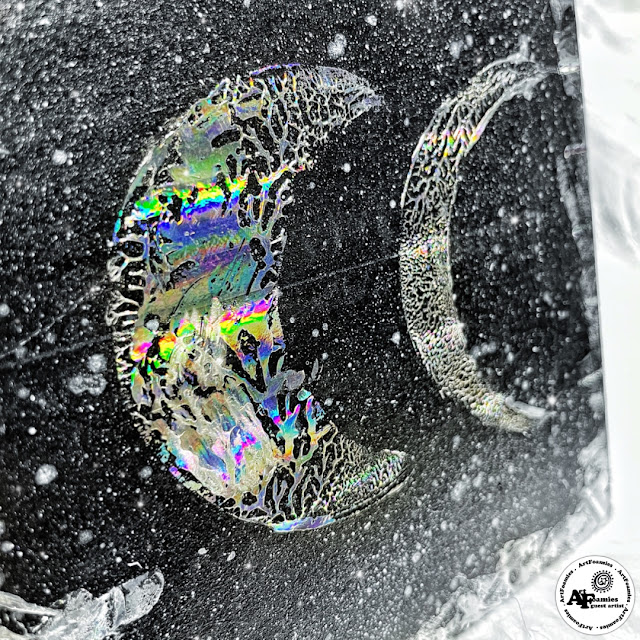
Carefully lifting the foil sheet from the gel mixture, you can now see the beautiful details left behind from the stamp. Since it is not a perfect impression, the gel created intricate little lines and pattern adding interest to each moon when stamped. I placed the foil sheet back over several times to make sure that there was no tackiness from the gel left.

With a palette knife, I spread a thin layer of the gel around the edge of the board and repeated the same process with the foil technique once dry.

The final results of the foil process is beautifully grungy. The true color of the foil is hard to capture with a lens but this picture is the closest I could get to.

I hope you give this technique a try in whatever you decide to create!
Renae Davis
My Blog: www.splendiferossity.com
Instagram: @redhedtm
Facebook: @splendiferossity
YouTube: @redhedtm
Pinterest: @redhedtm
Instagram: @redhedtm
Facebook: @splendiferossity
YouTube: @redhedtm
Pinterest: @redhedtm